Starting selection for new back splash
June 6th to 23rd
Click image for enlargement.

(05:06:2025)
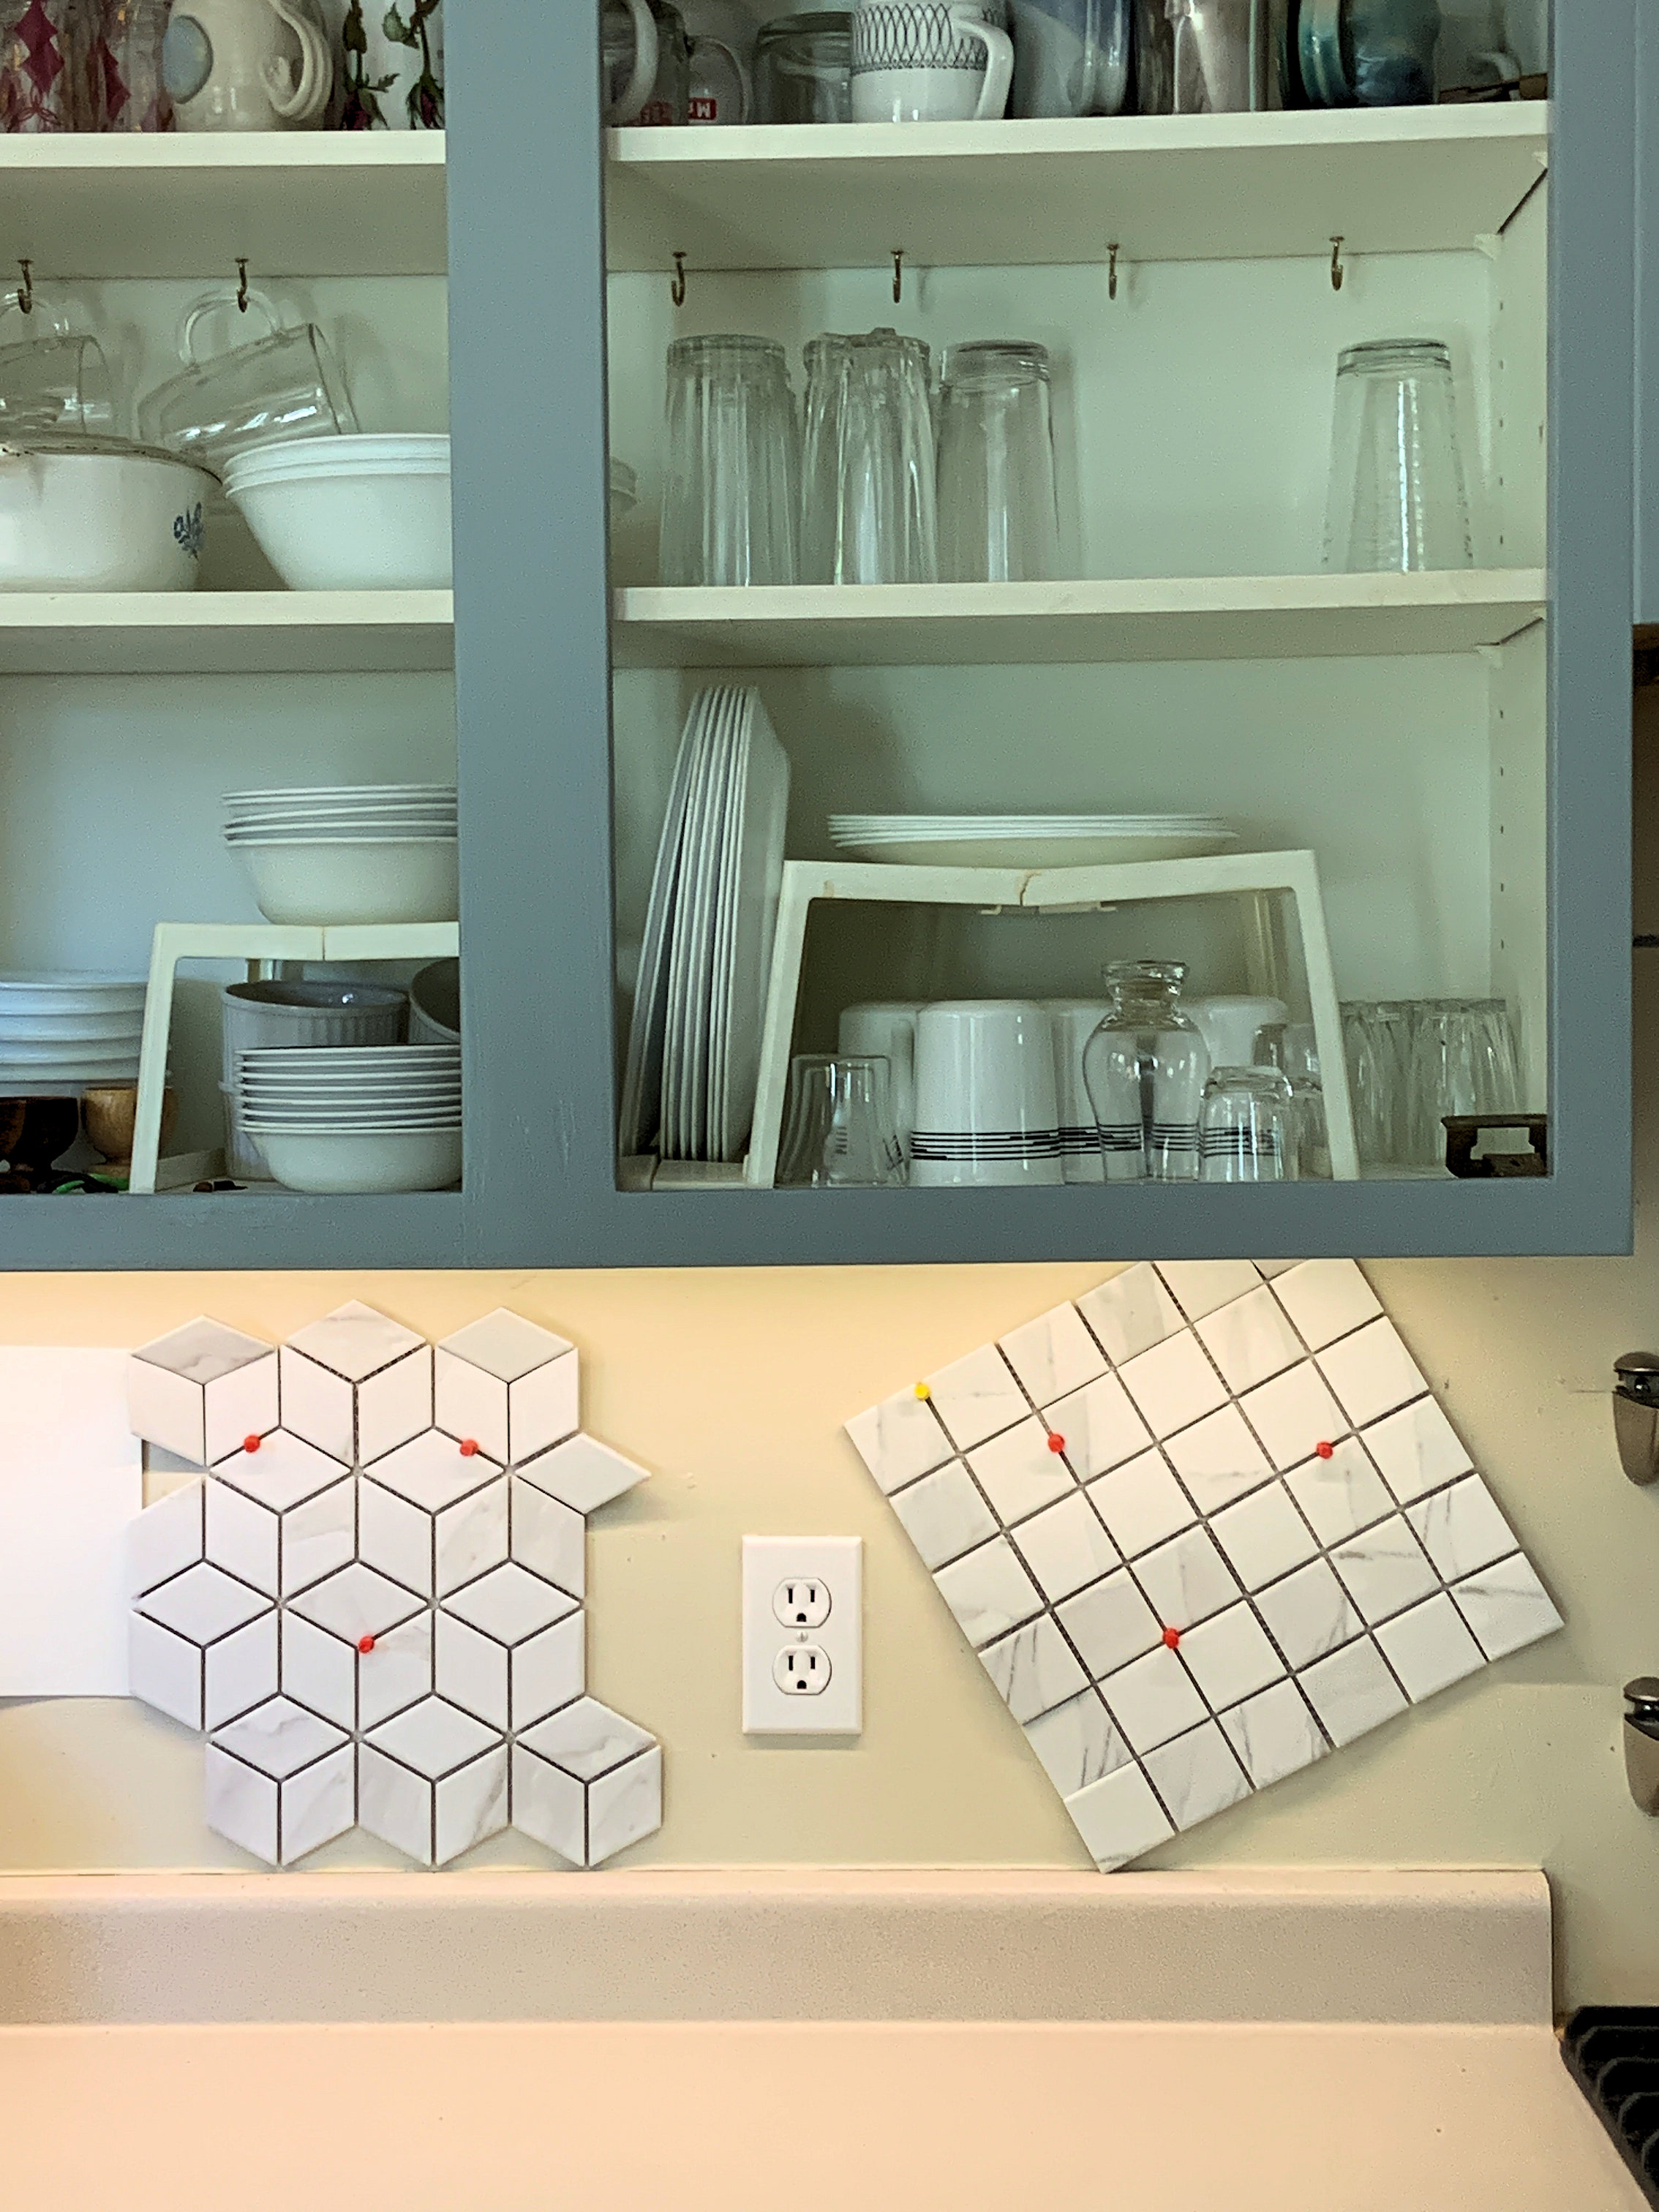
Two options for putting tiles on the wall between the cupboards and counter.
(06:06:2025)

(06:06:2025)
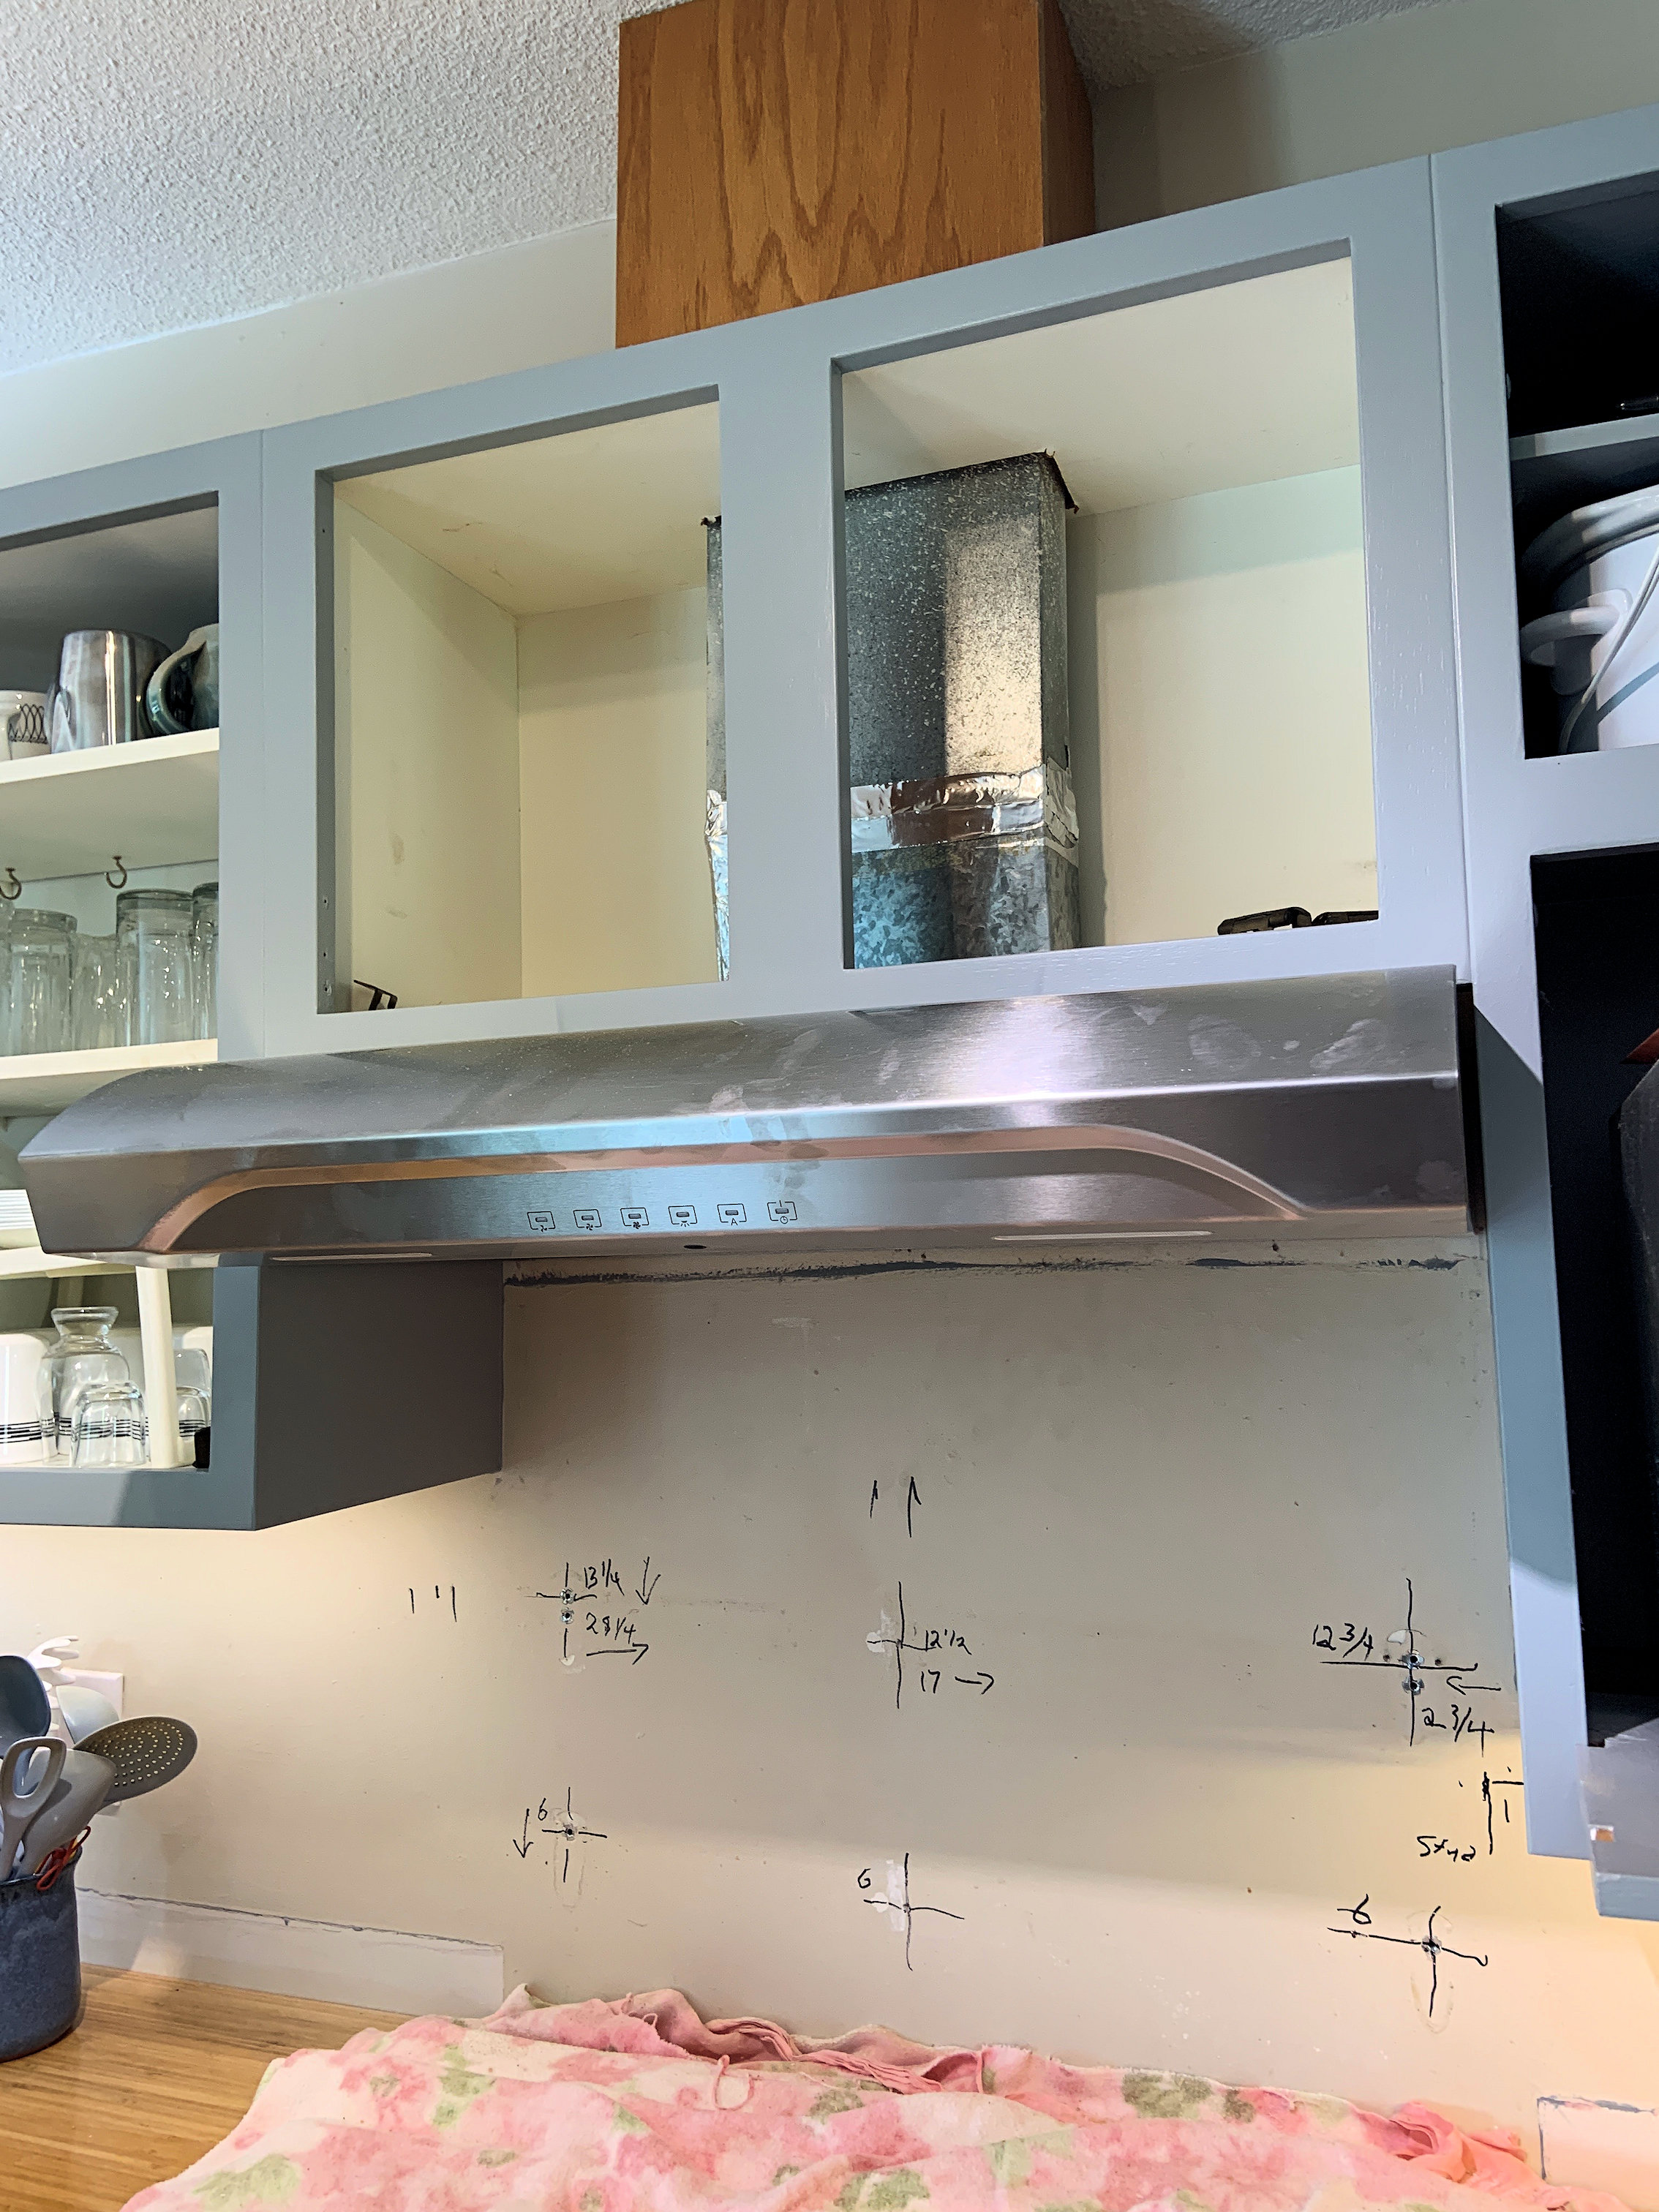
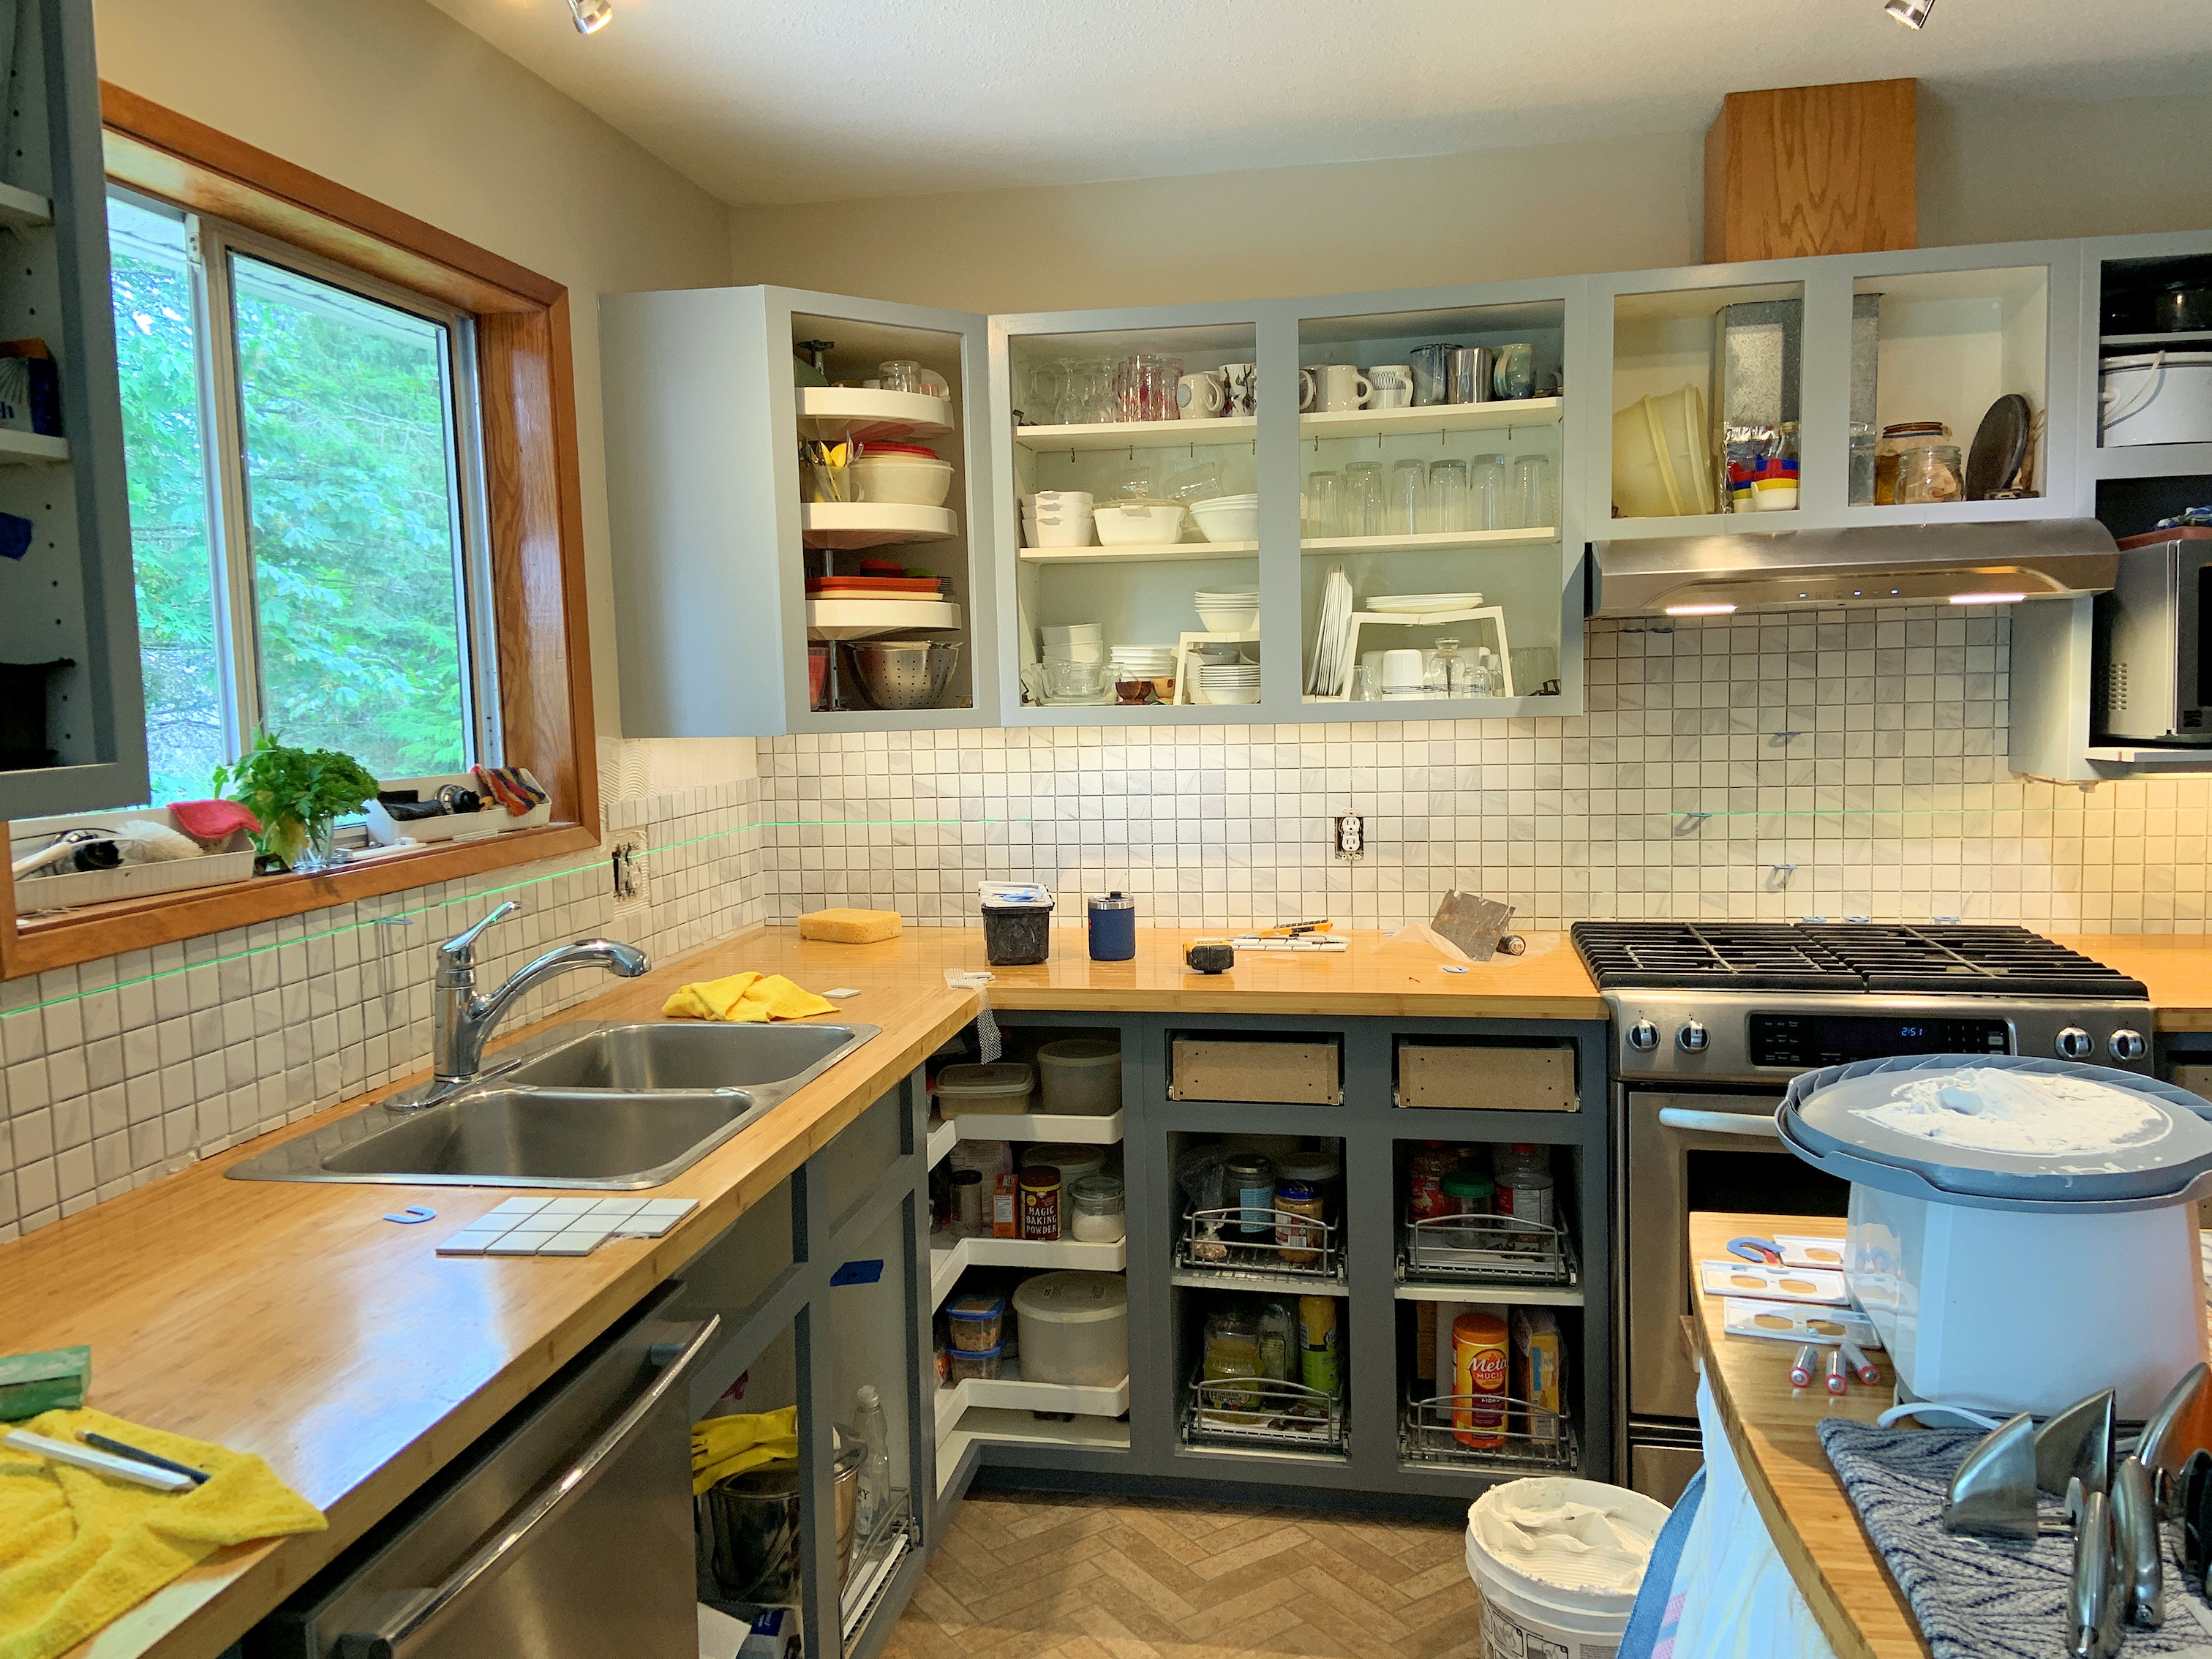
Measuring and marking the locations of the brackets that hold the glass shelves over the stove.
That's also a new range hood just installed because the switches on the old one died.
(16:06:2025)
(17:06:2025)
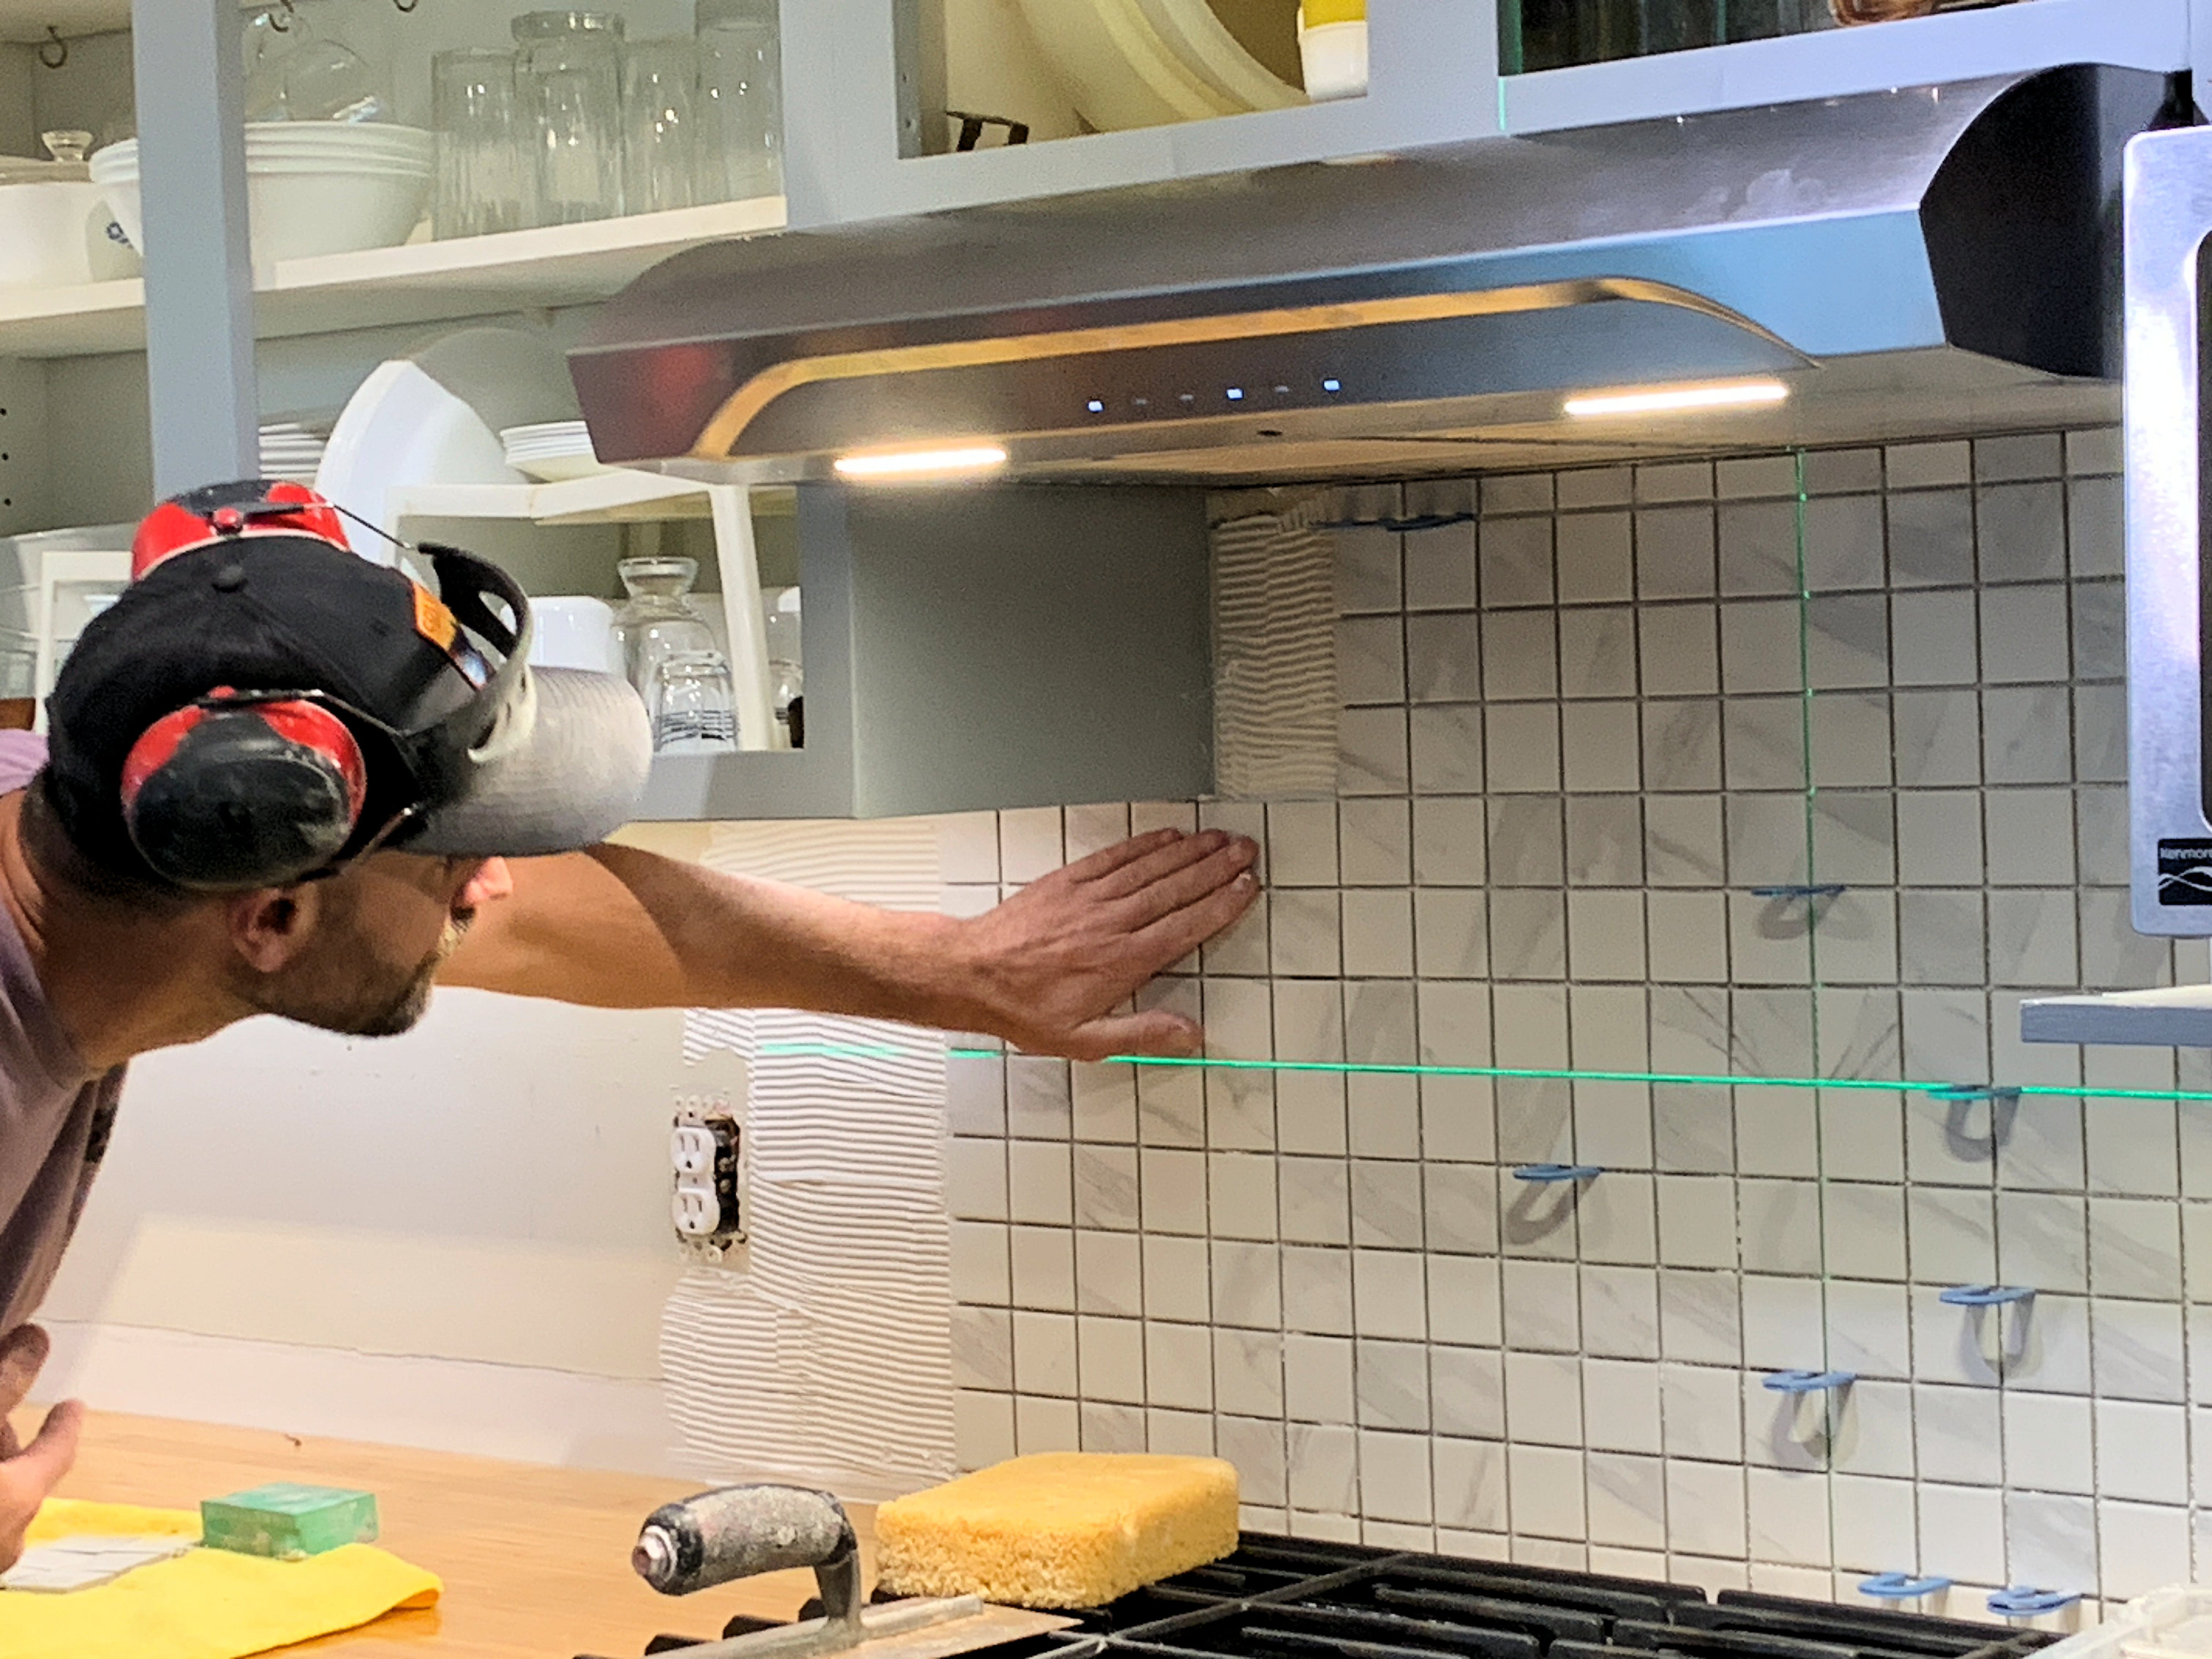
Getting started behind the stove. A green laser line keeps everything level.
The tiles chosen are option 2 from above, but on the square instead of as diamonds.
(17:06:2025)

About an hour later that wall is finished.
(17:06:2025)
Add three more hours and it's almost finished - just a small corner left to do.
(17:06:2025)
All done and cleaned up!
(17:06:2025)
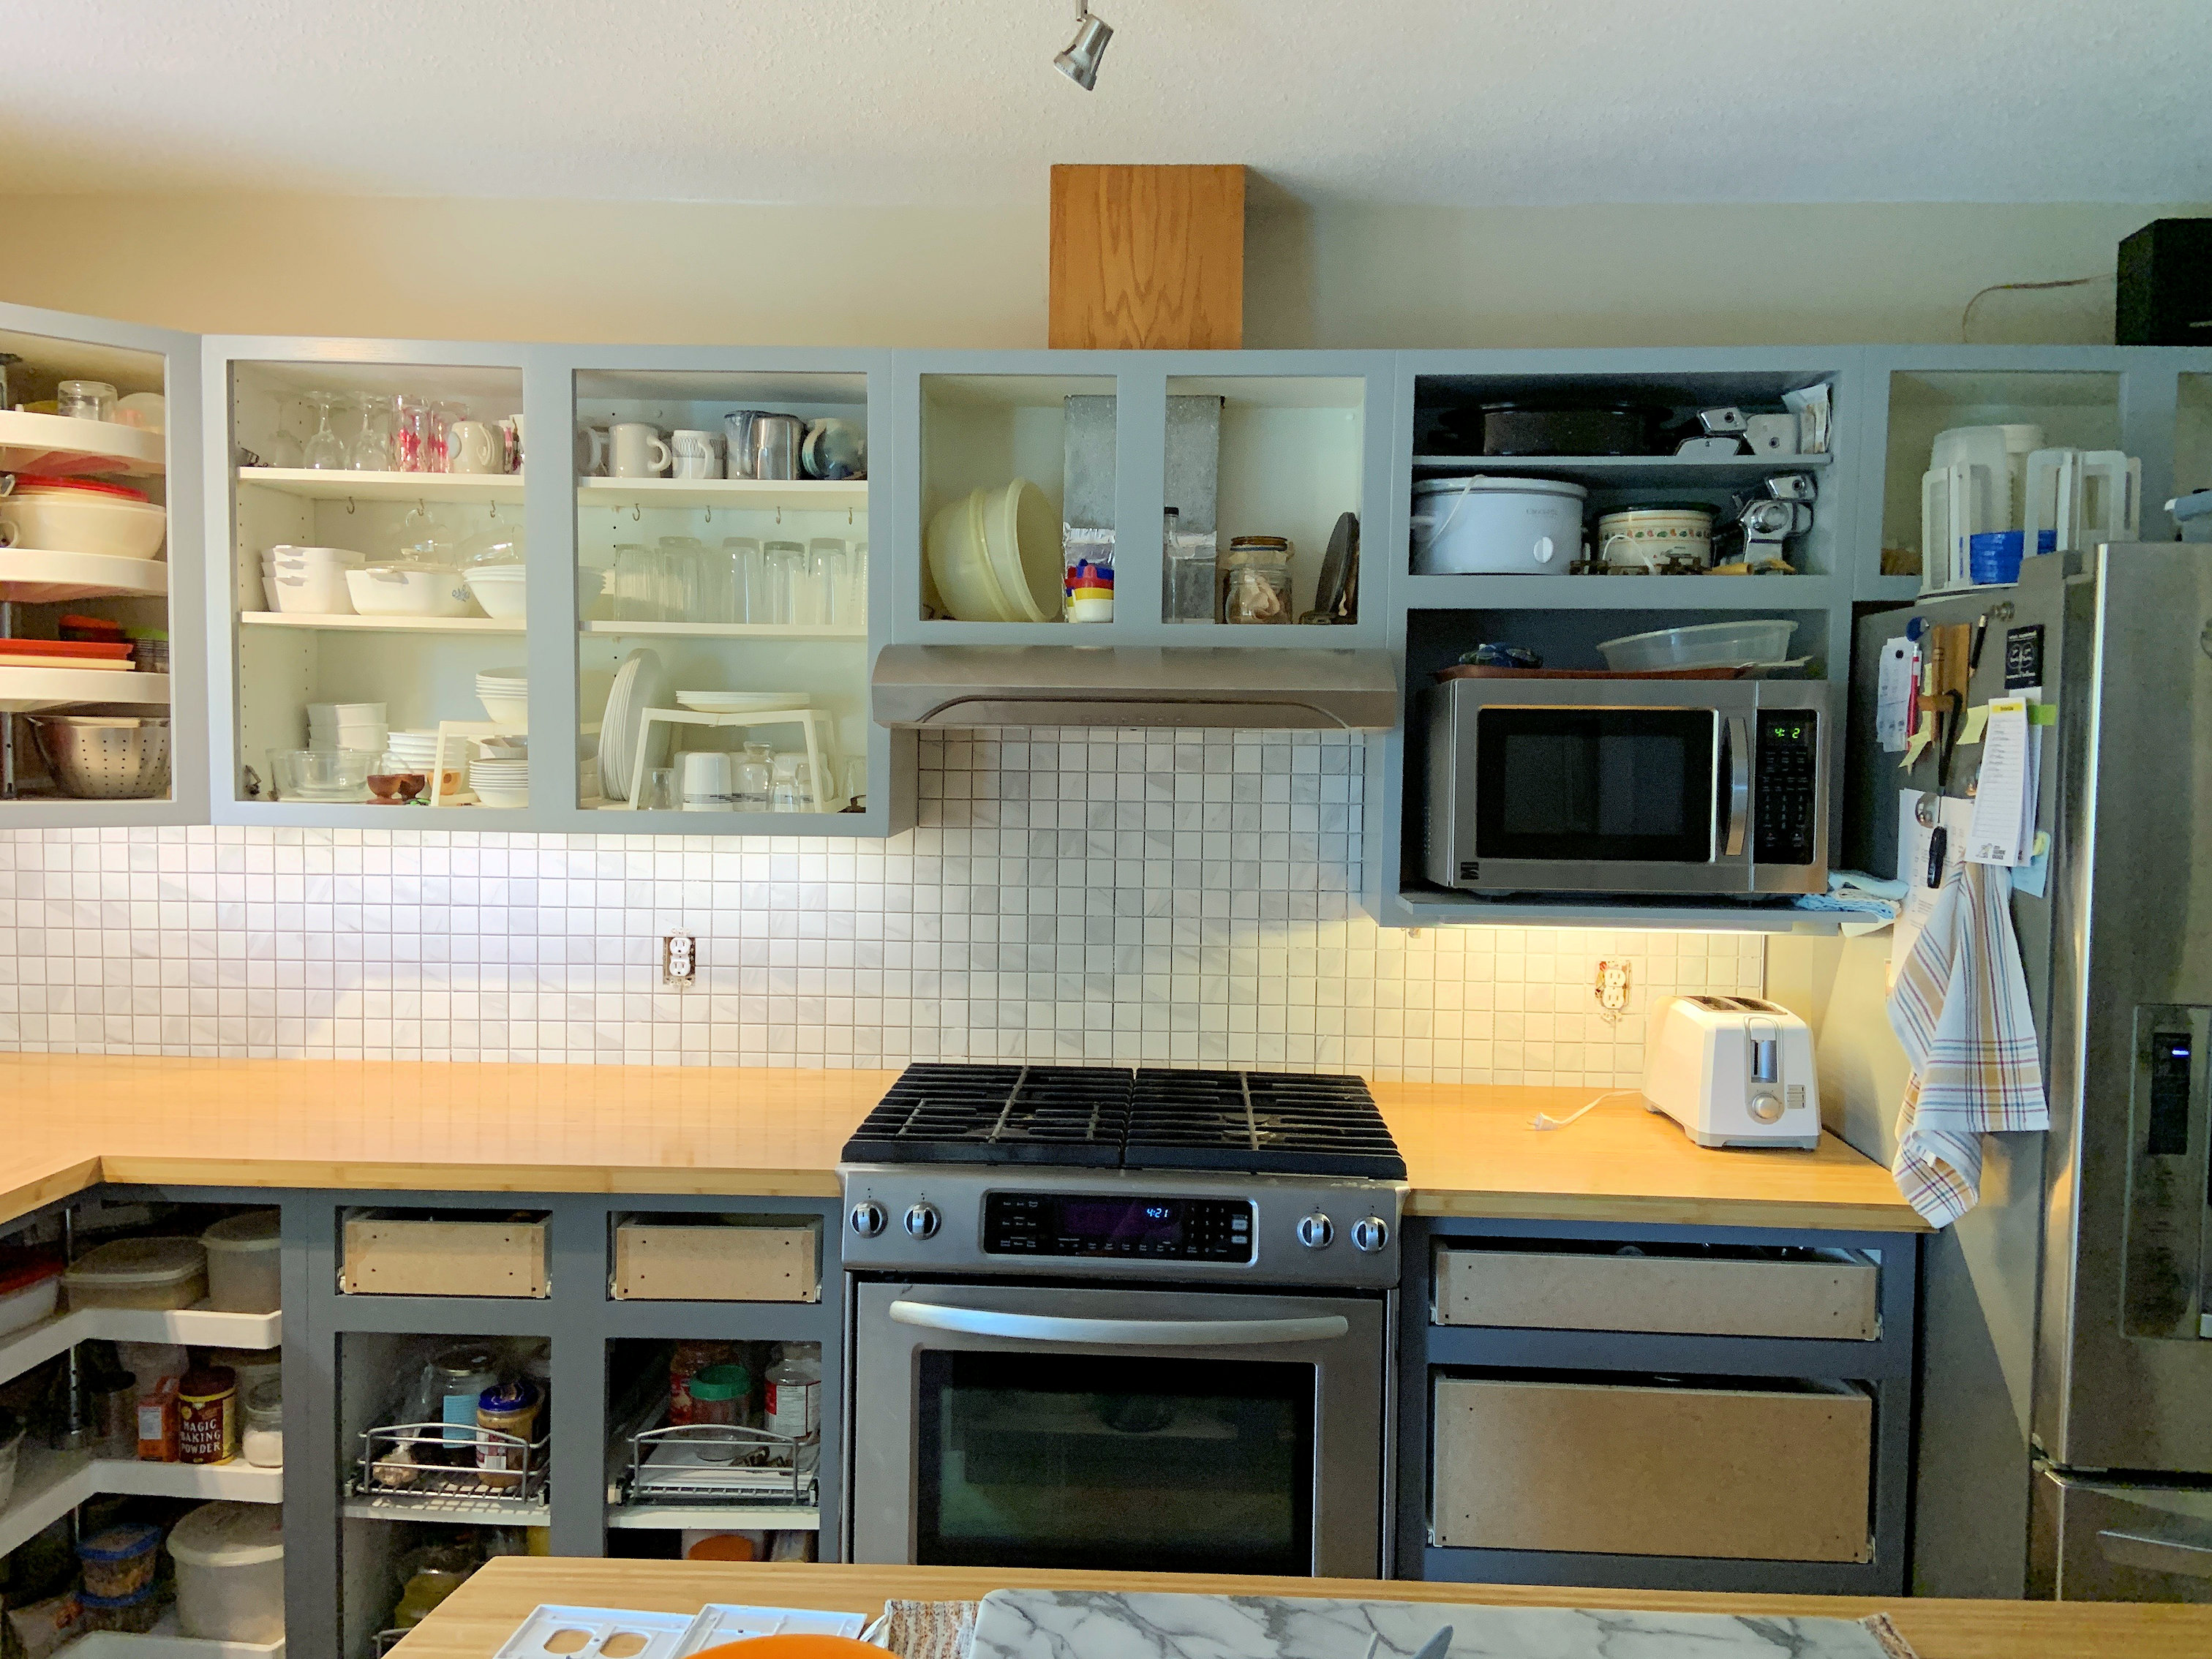
The stove backsplash.
(17:06:2025)
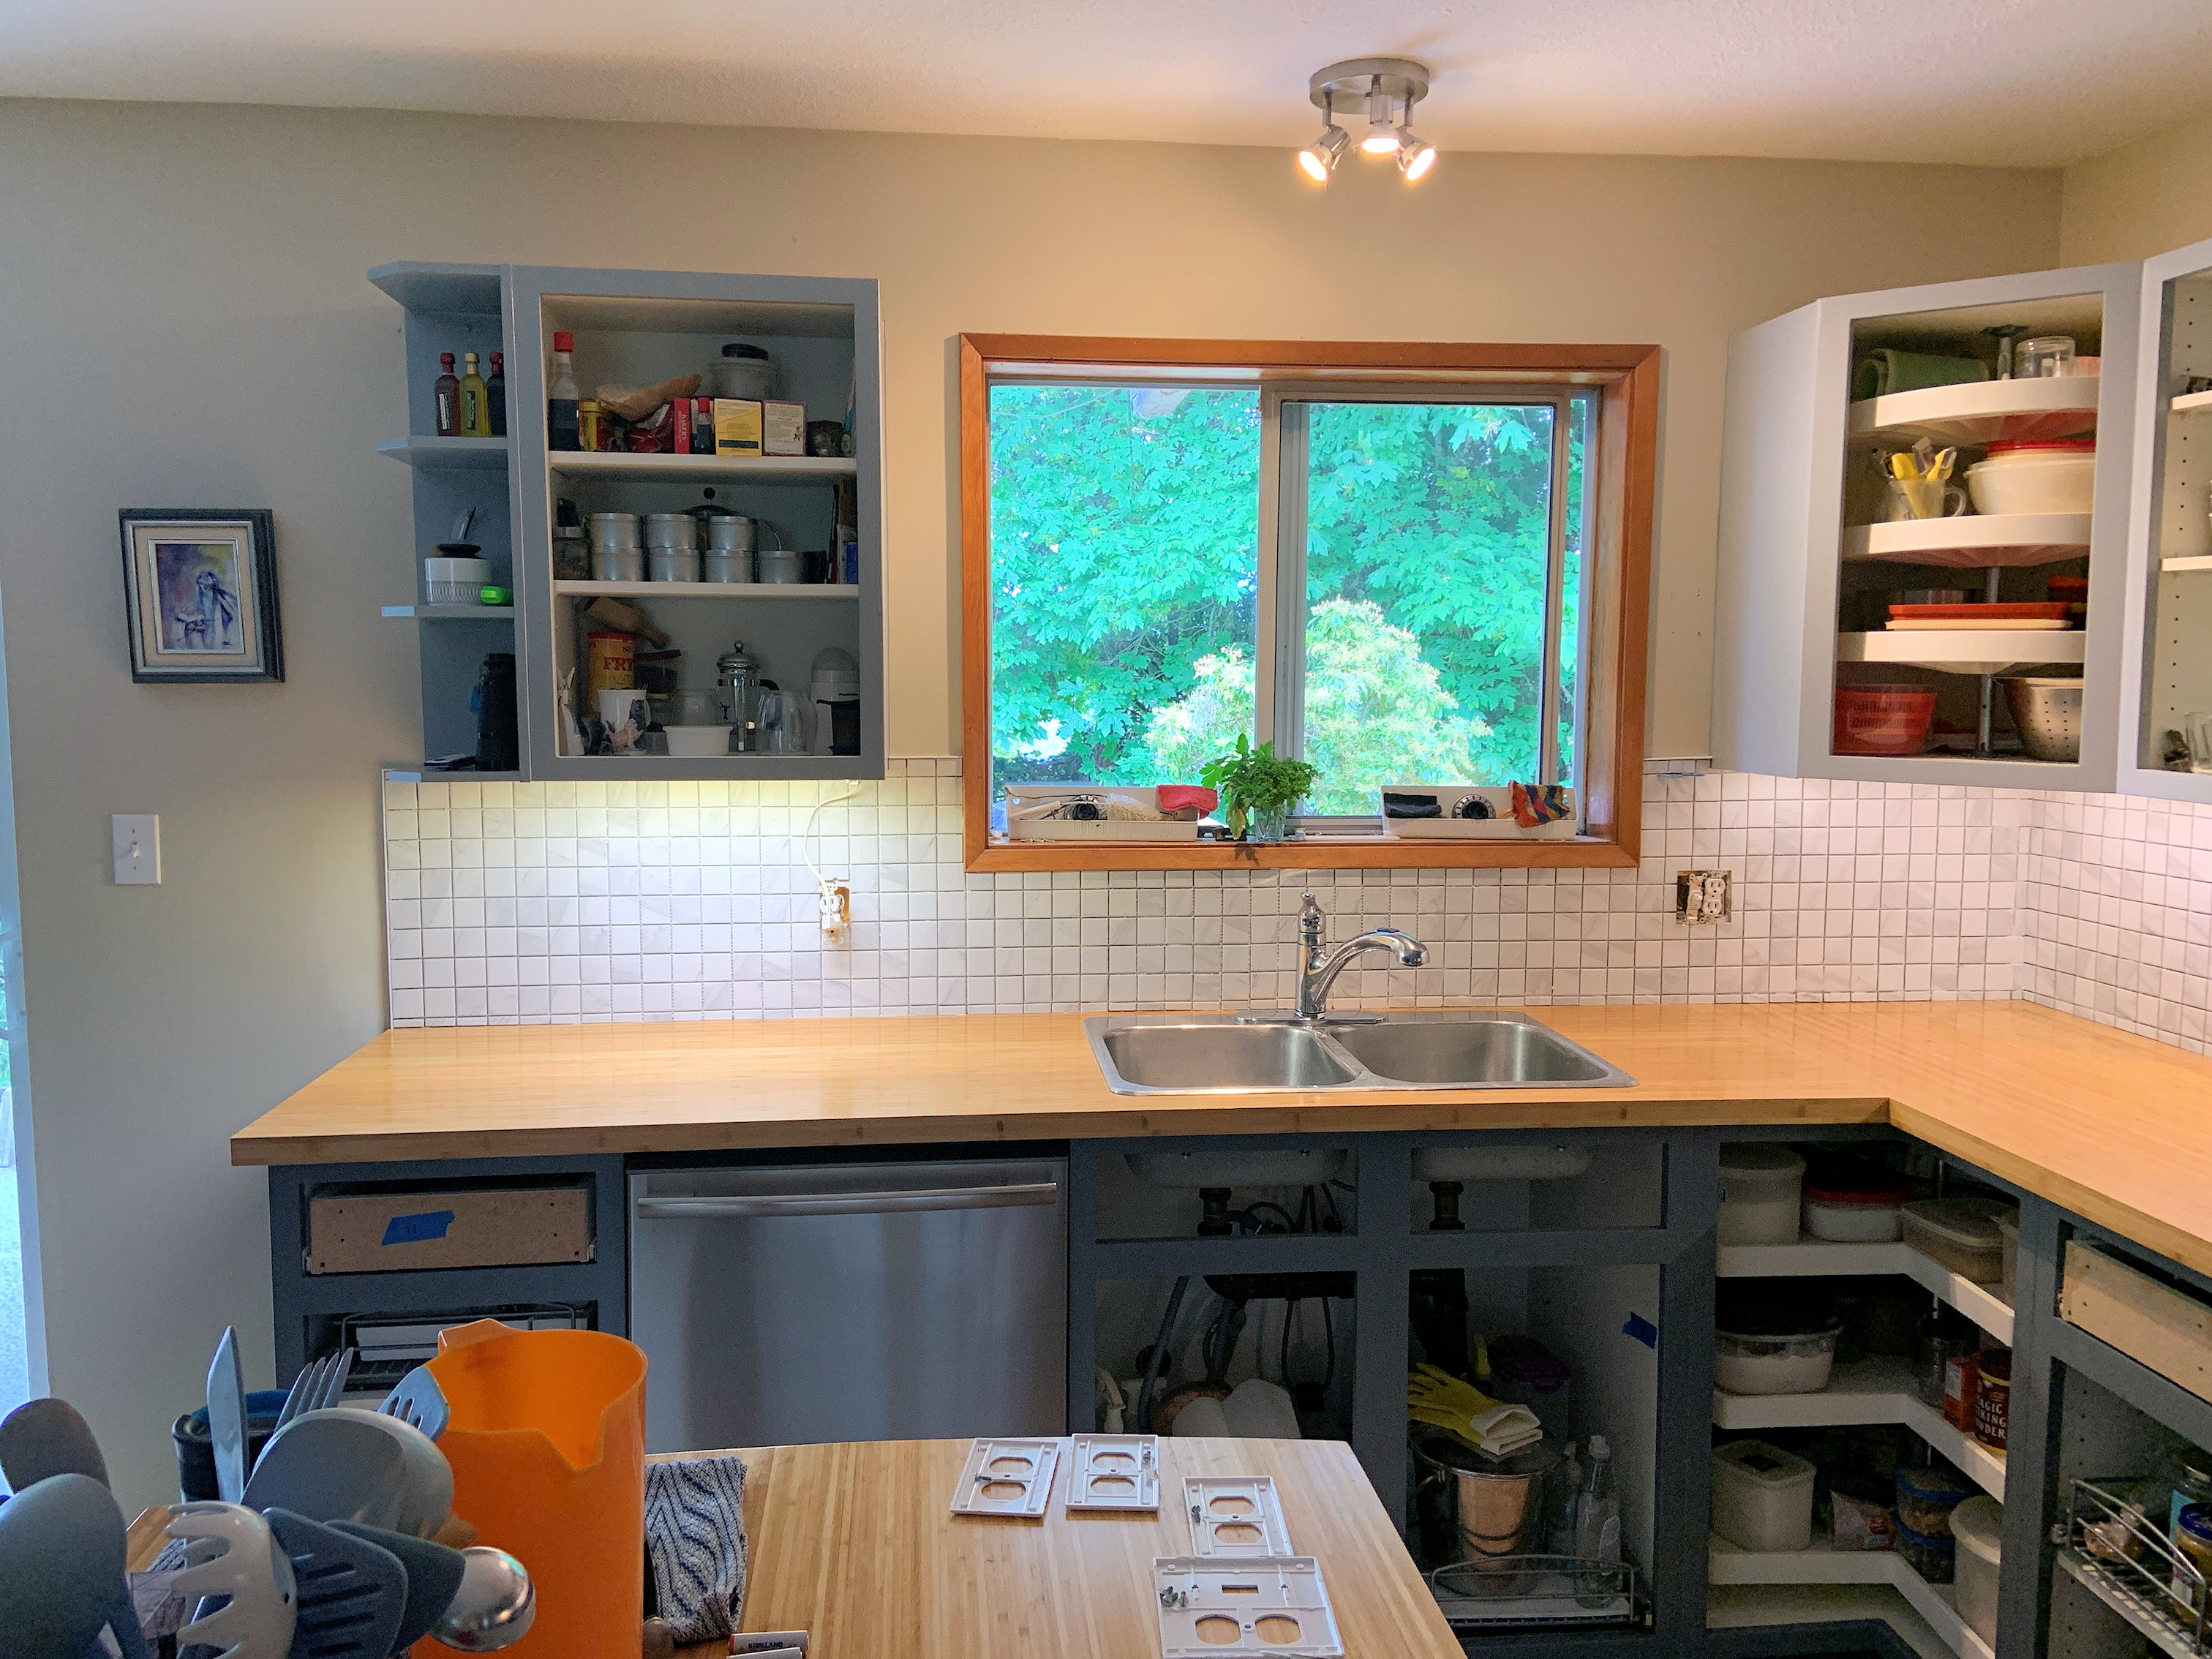
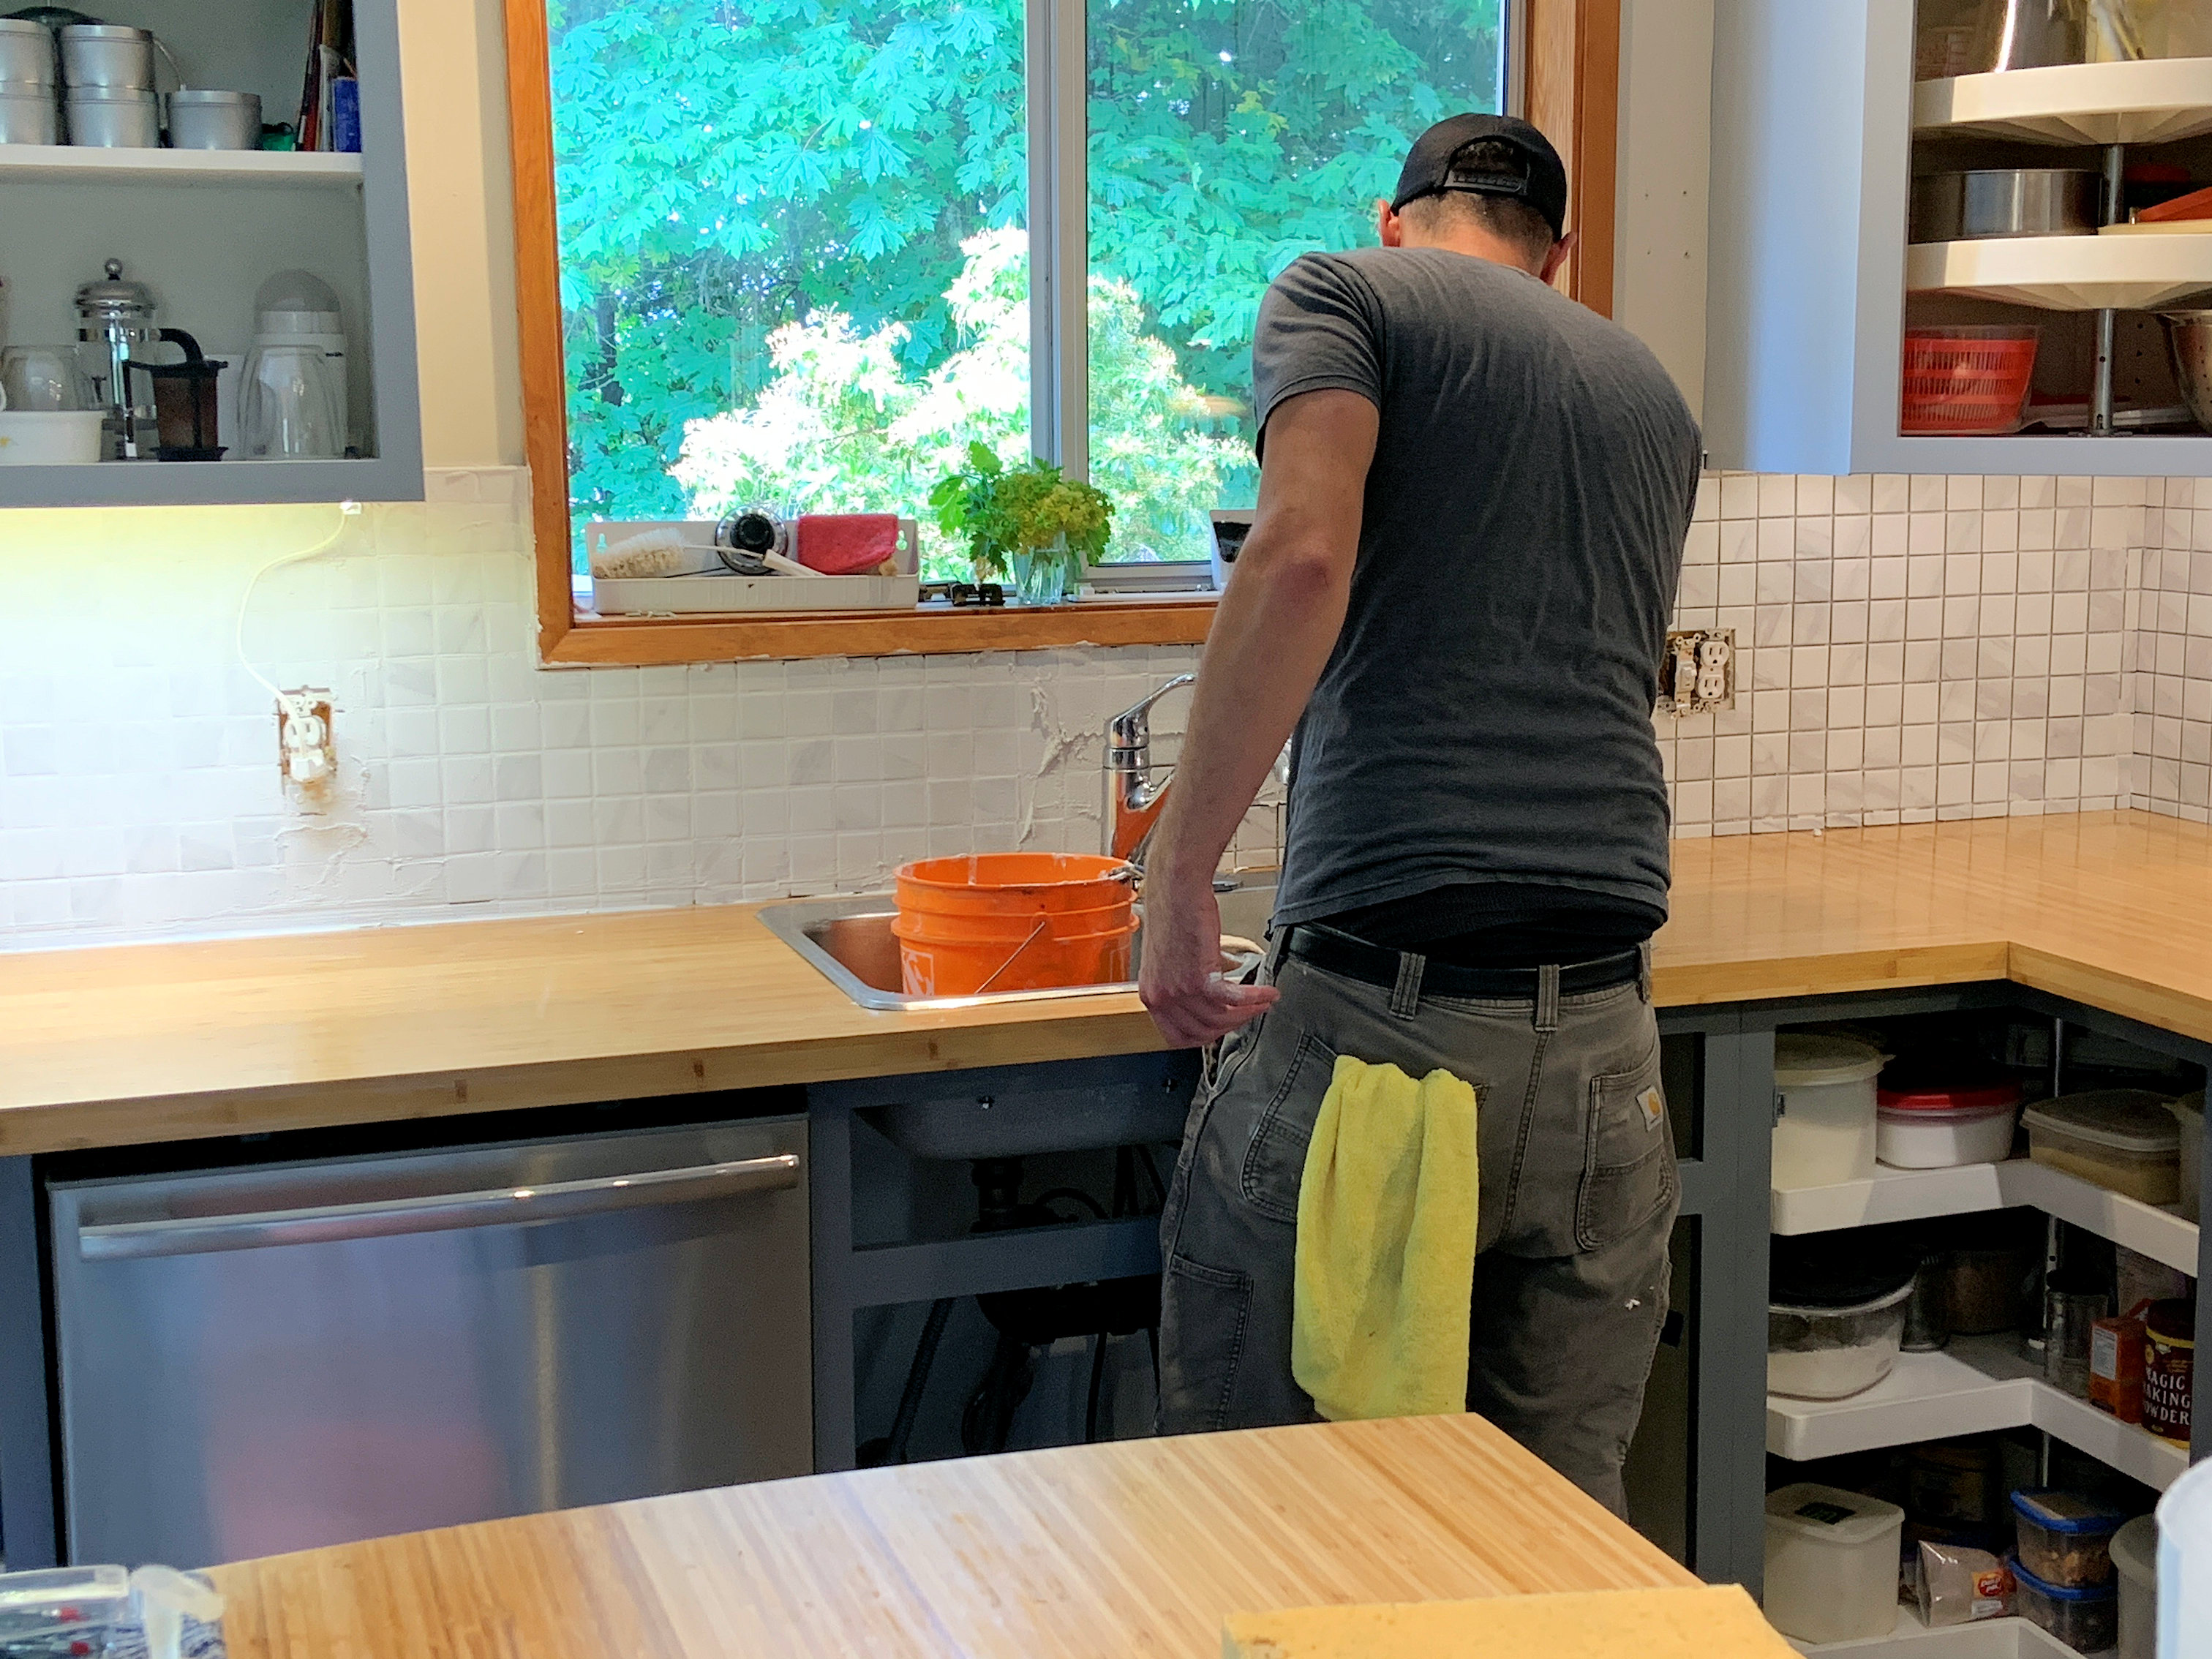
The sink end.
They'll be back in four days to do the grout.
(17:06:2025)
Mark'd up and ready for drilling to remount the shelves.
(17:06:2025)

OK - 6 days later - grouting is under way.
(23:06:2025)
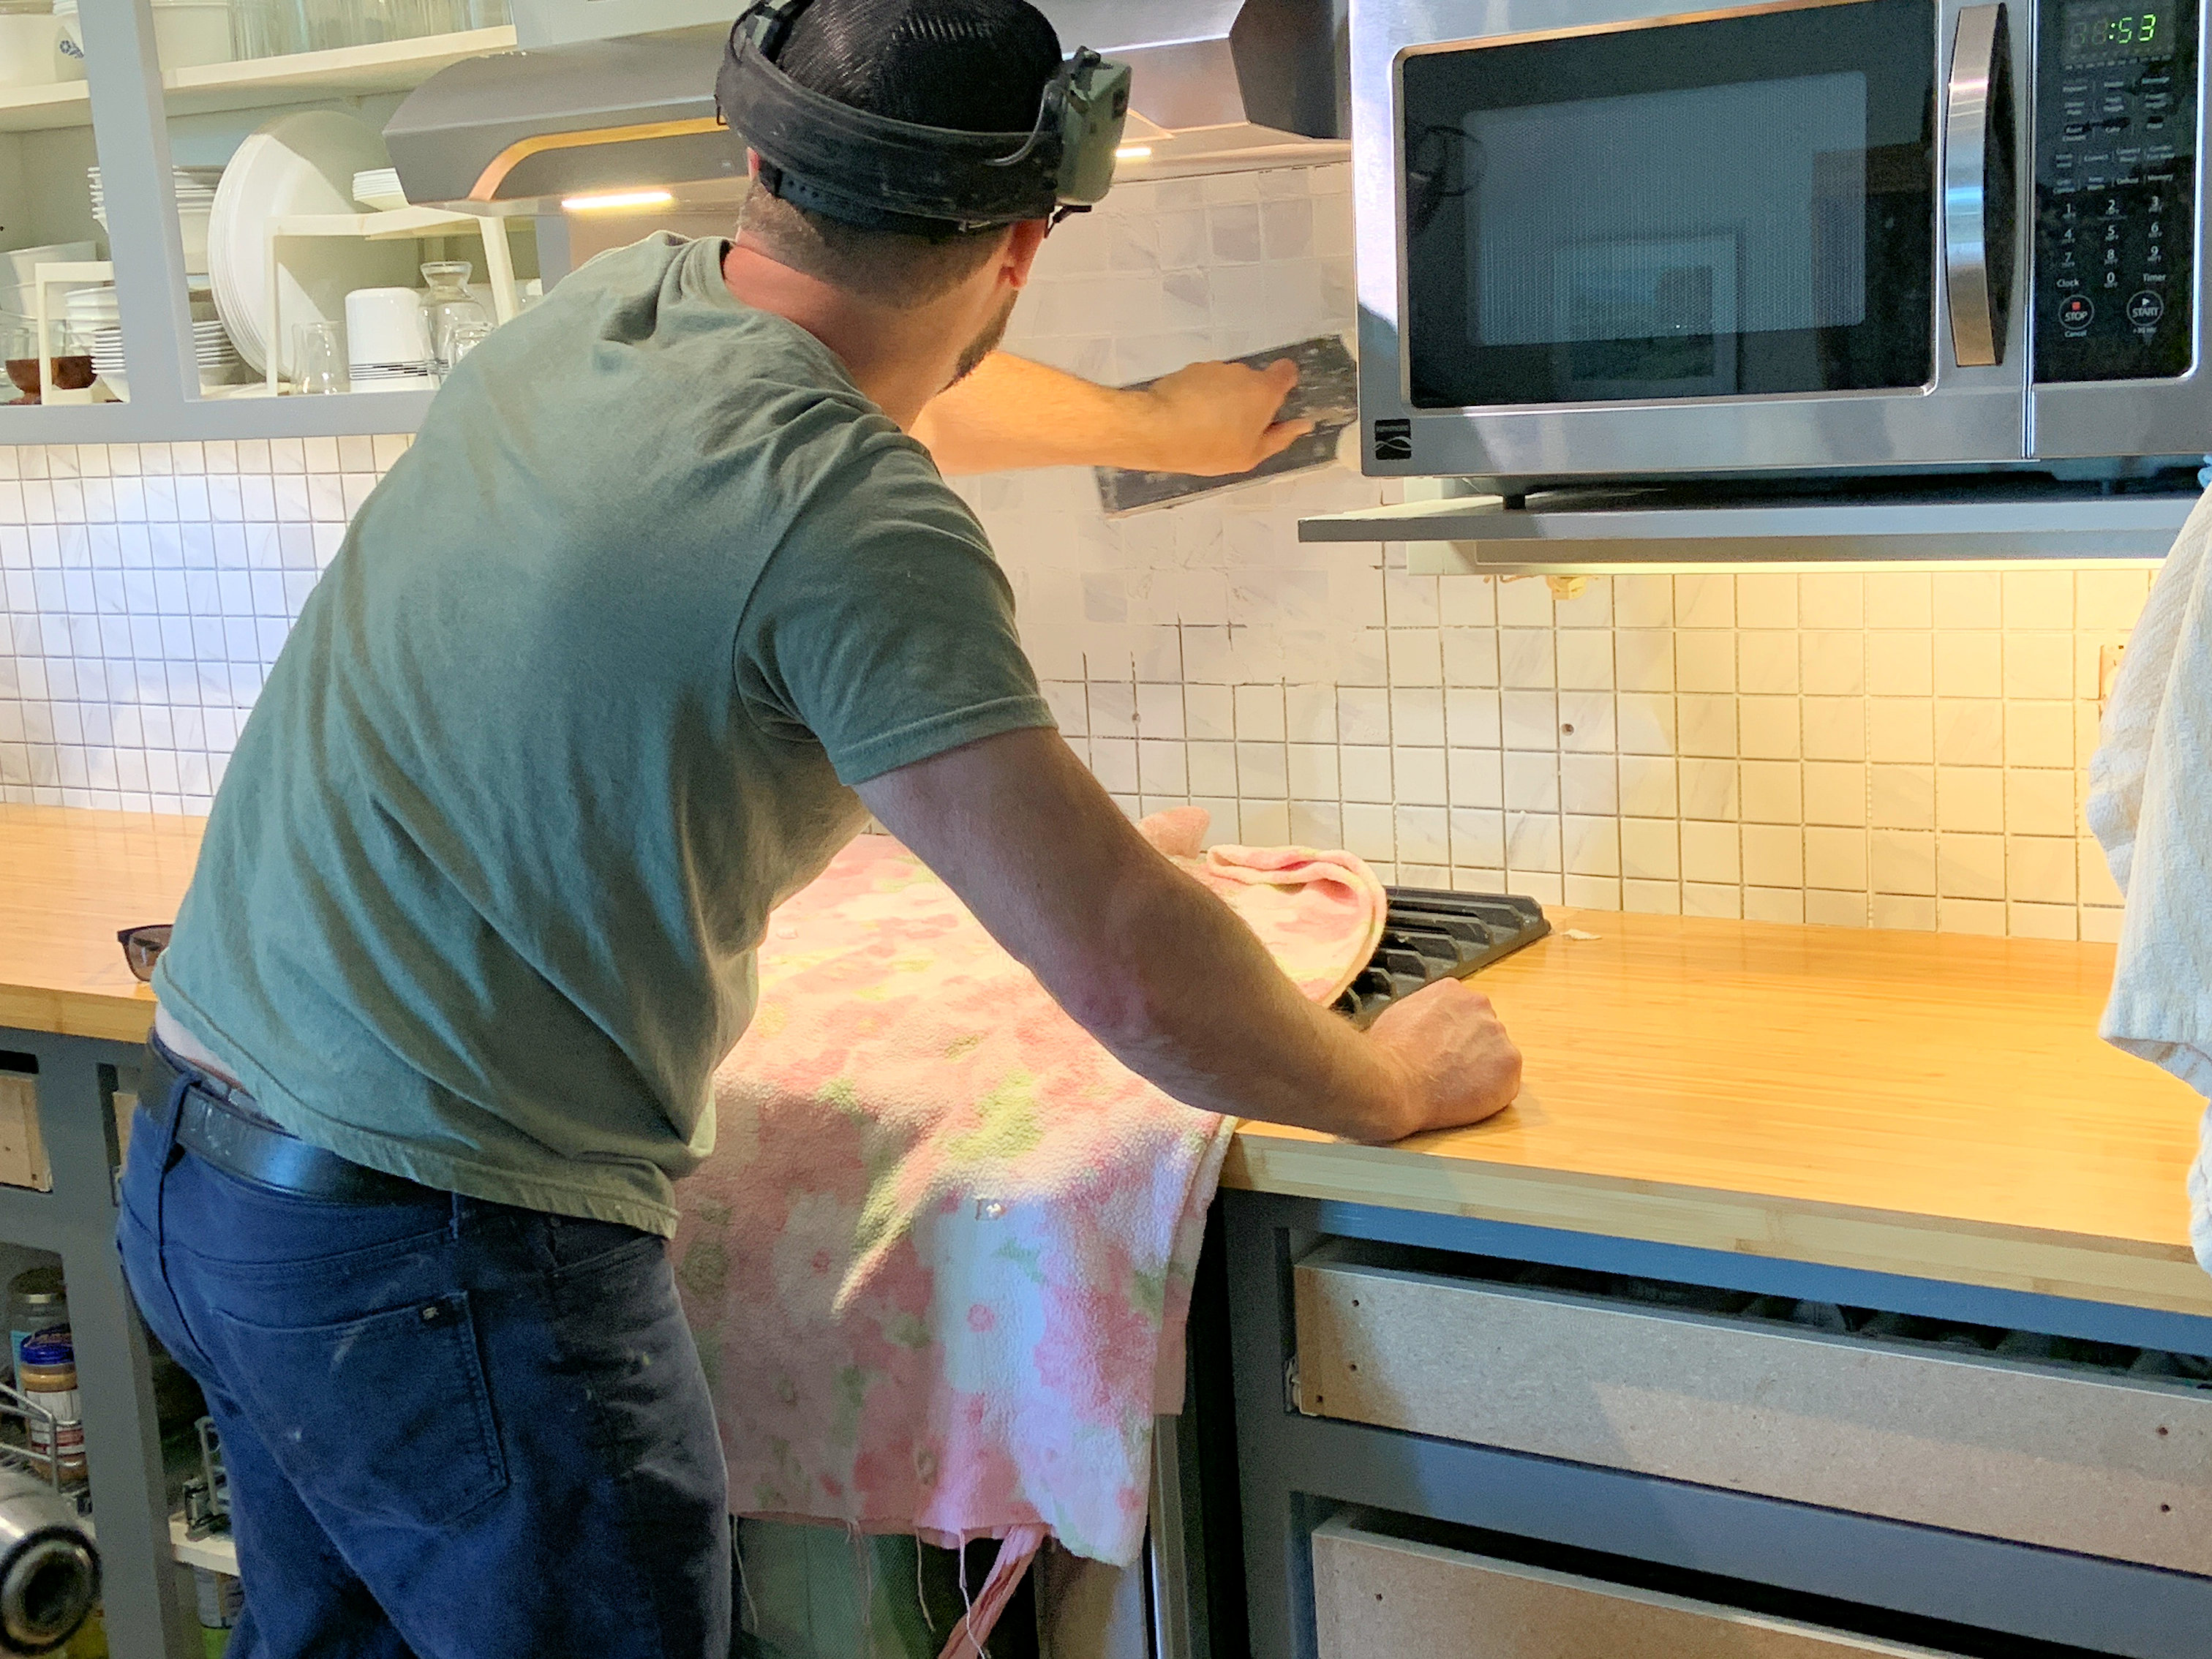
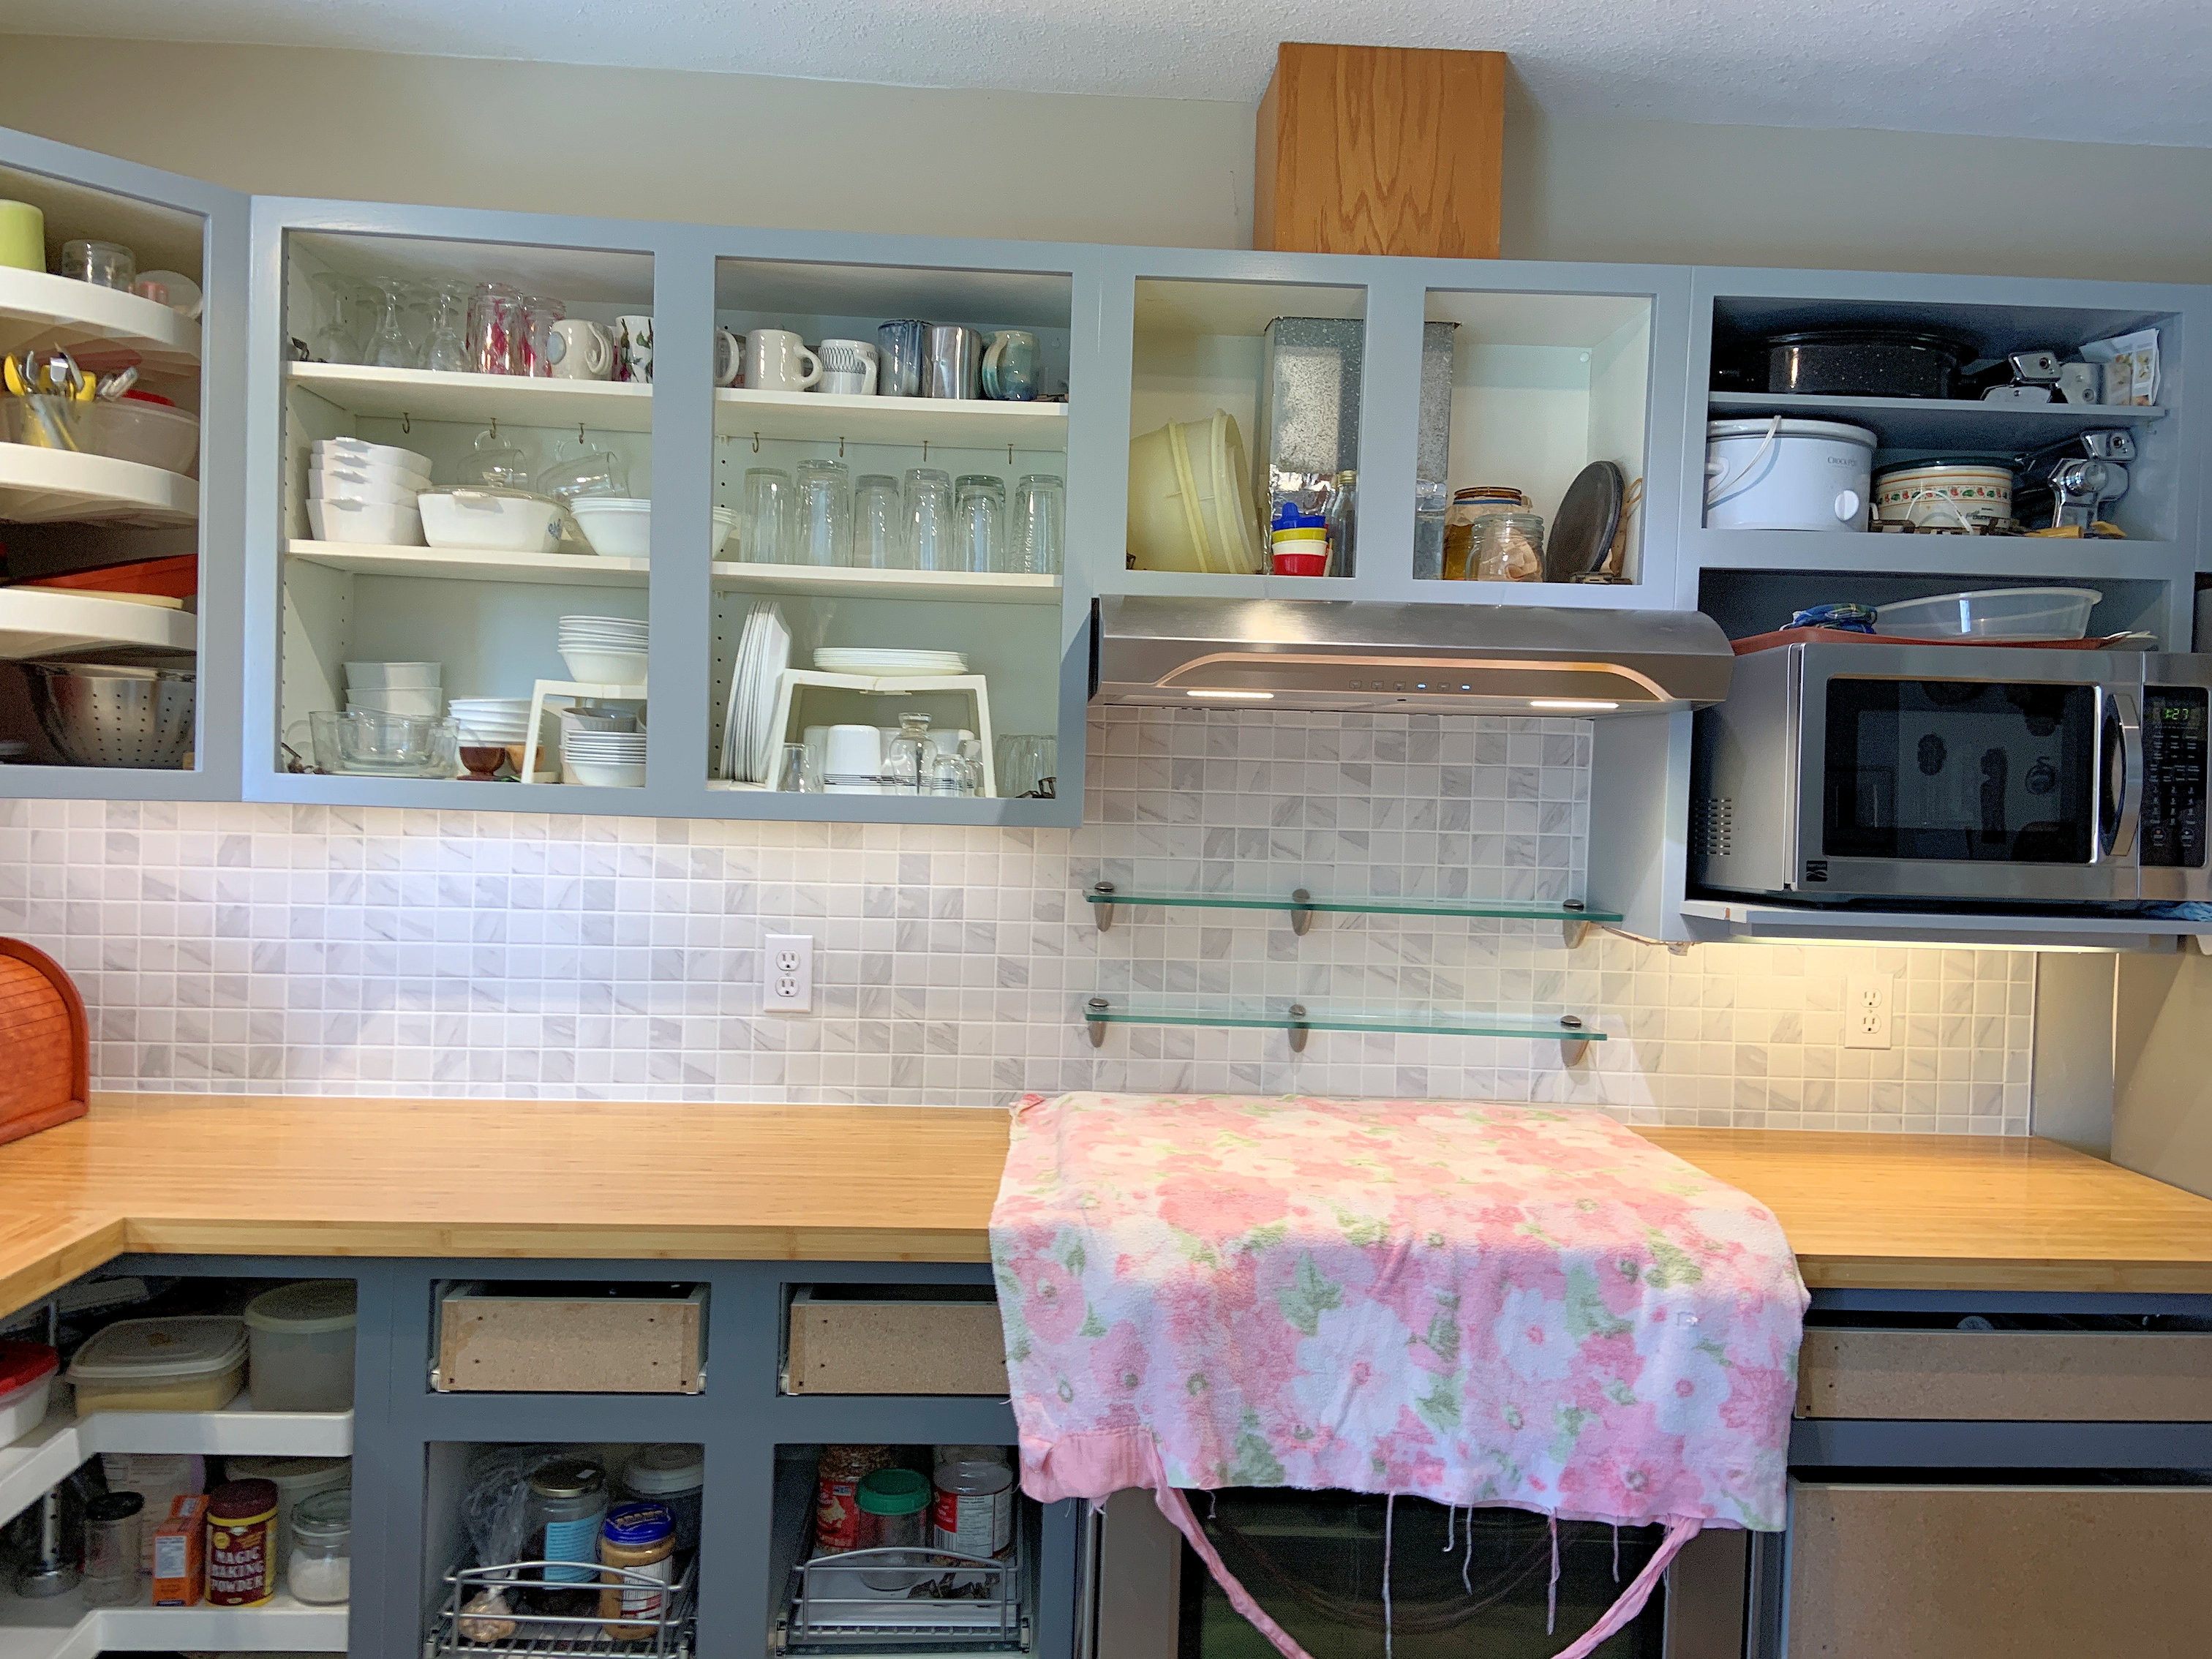
Working behind the stove.
The blanket is to hopefully keep bits off the stove and to keep the worker from bumping the switch panel on the front of the stove.
(23:06:2025)
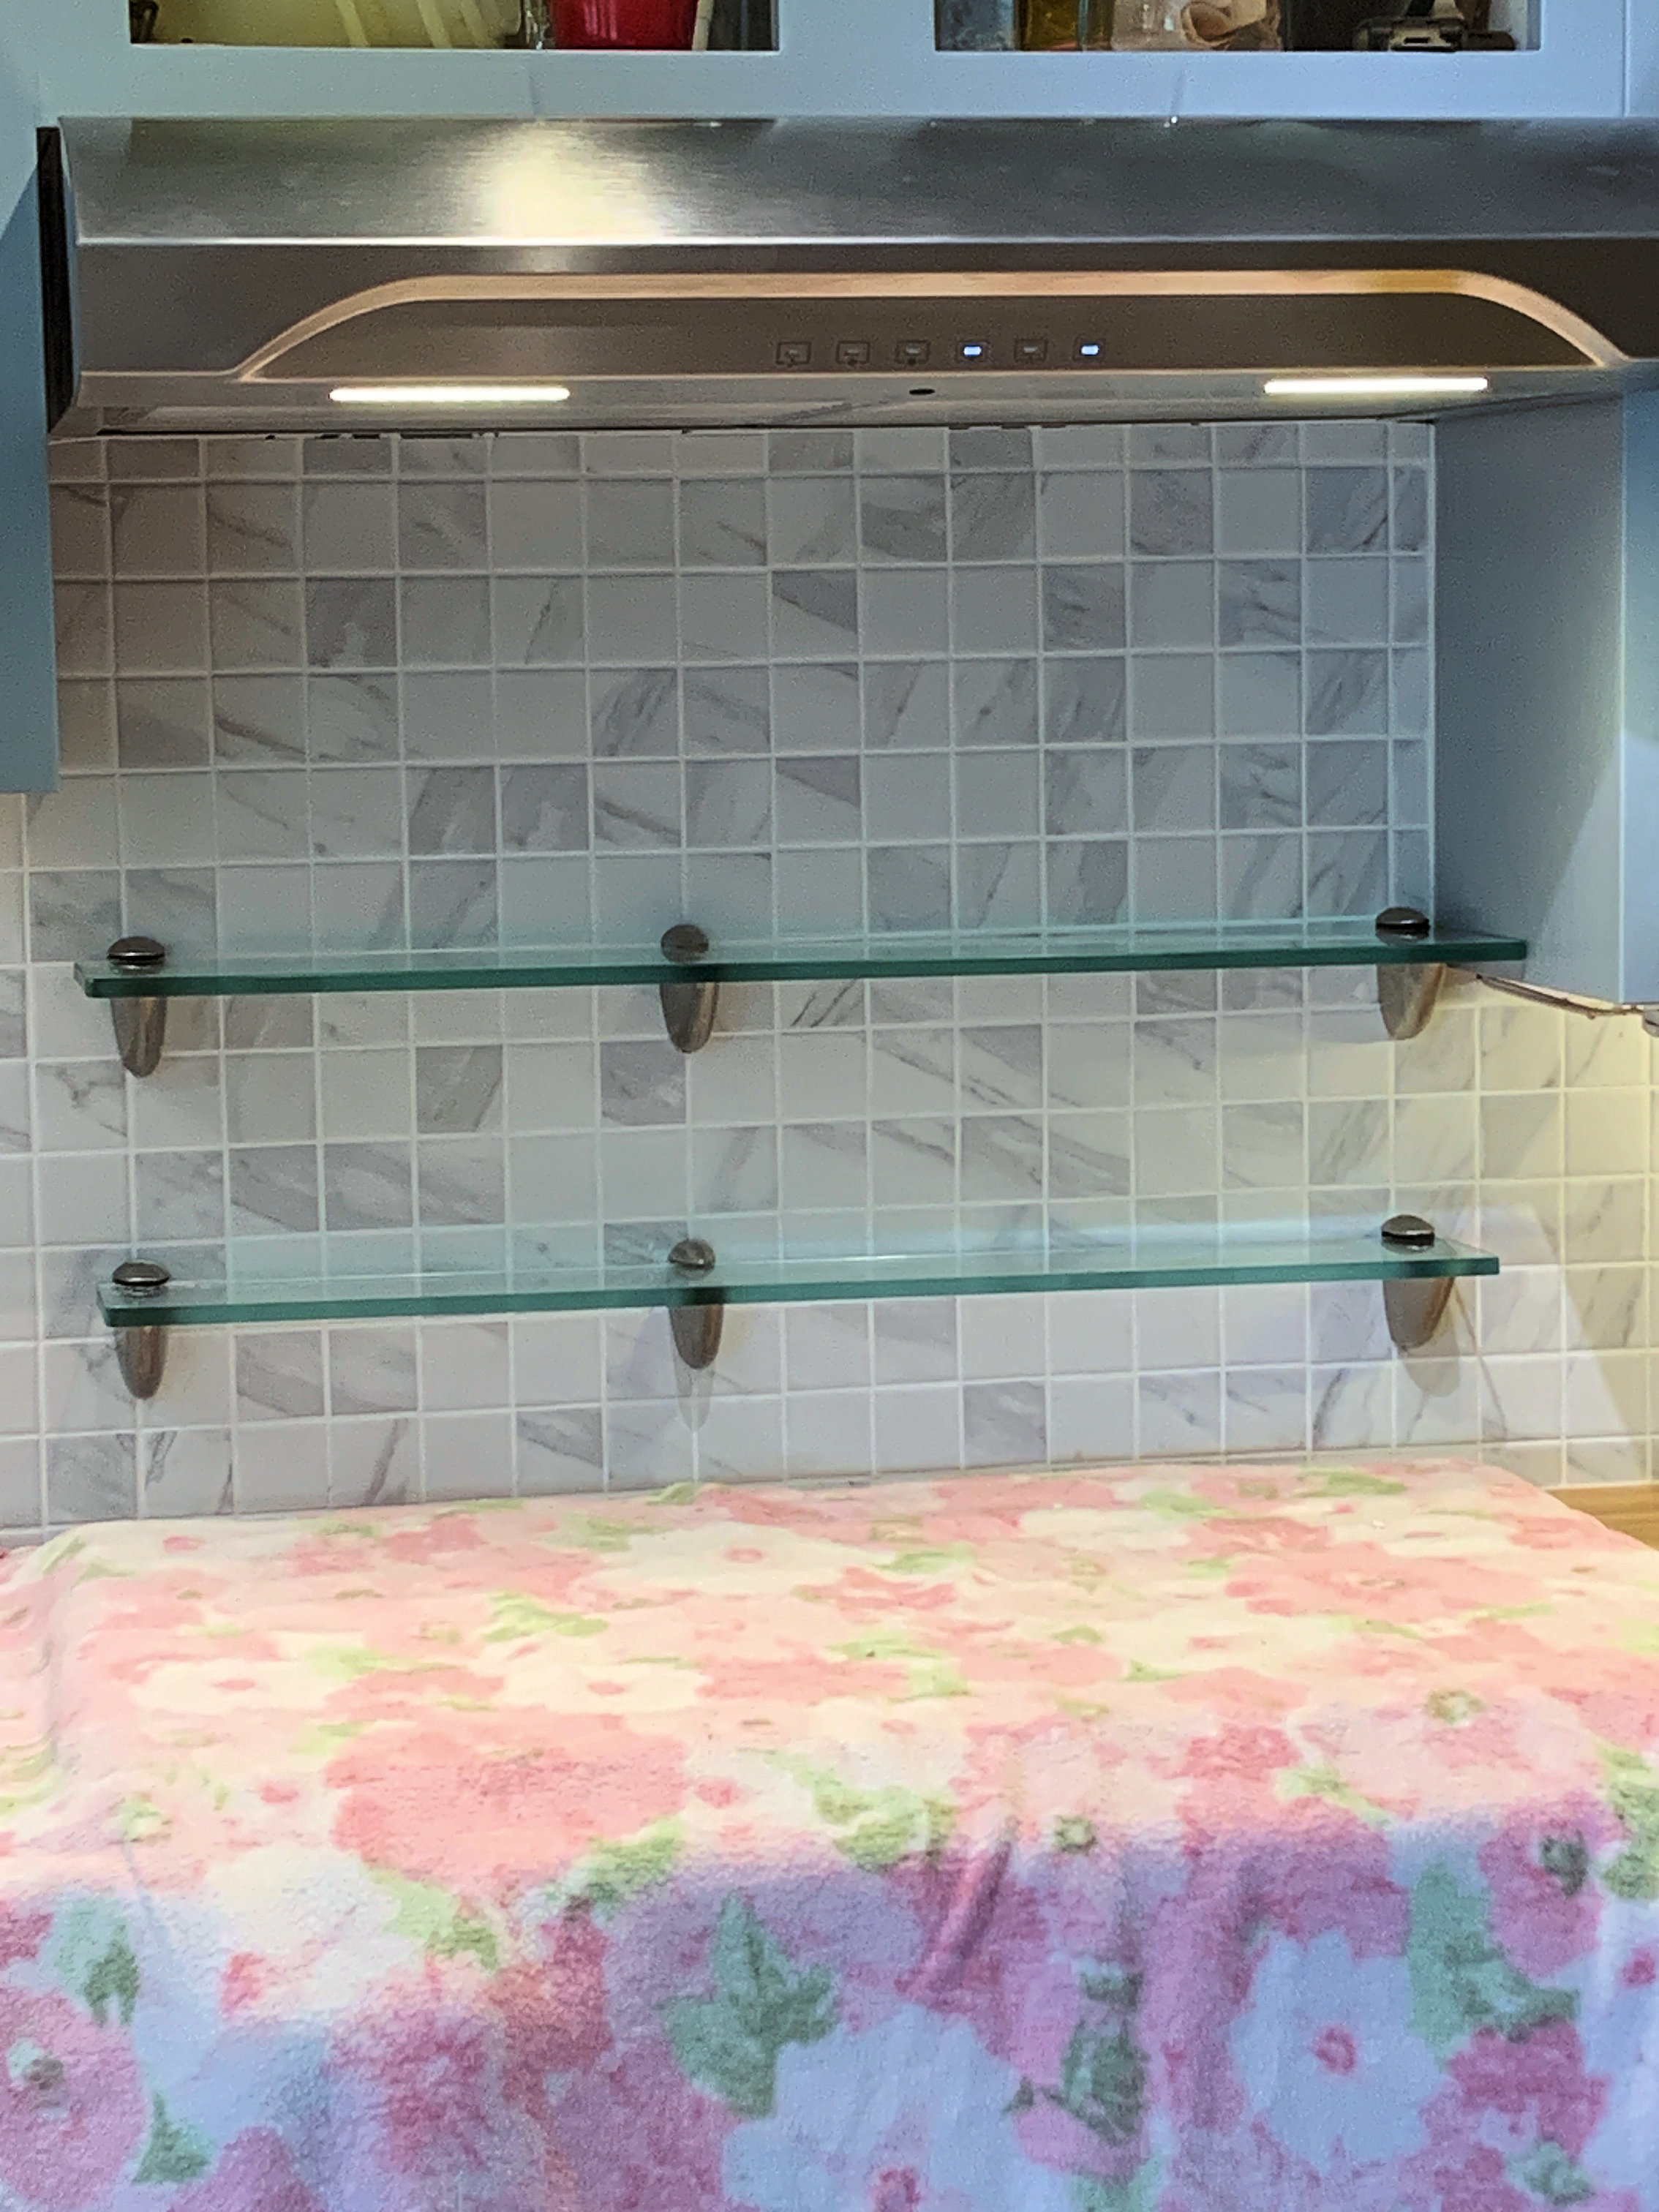
Shelves are back!
The odd spacing is so two of the brackets hit studs. Only the left hand is mounted on hollow wall anchors.
(23:06:2025)
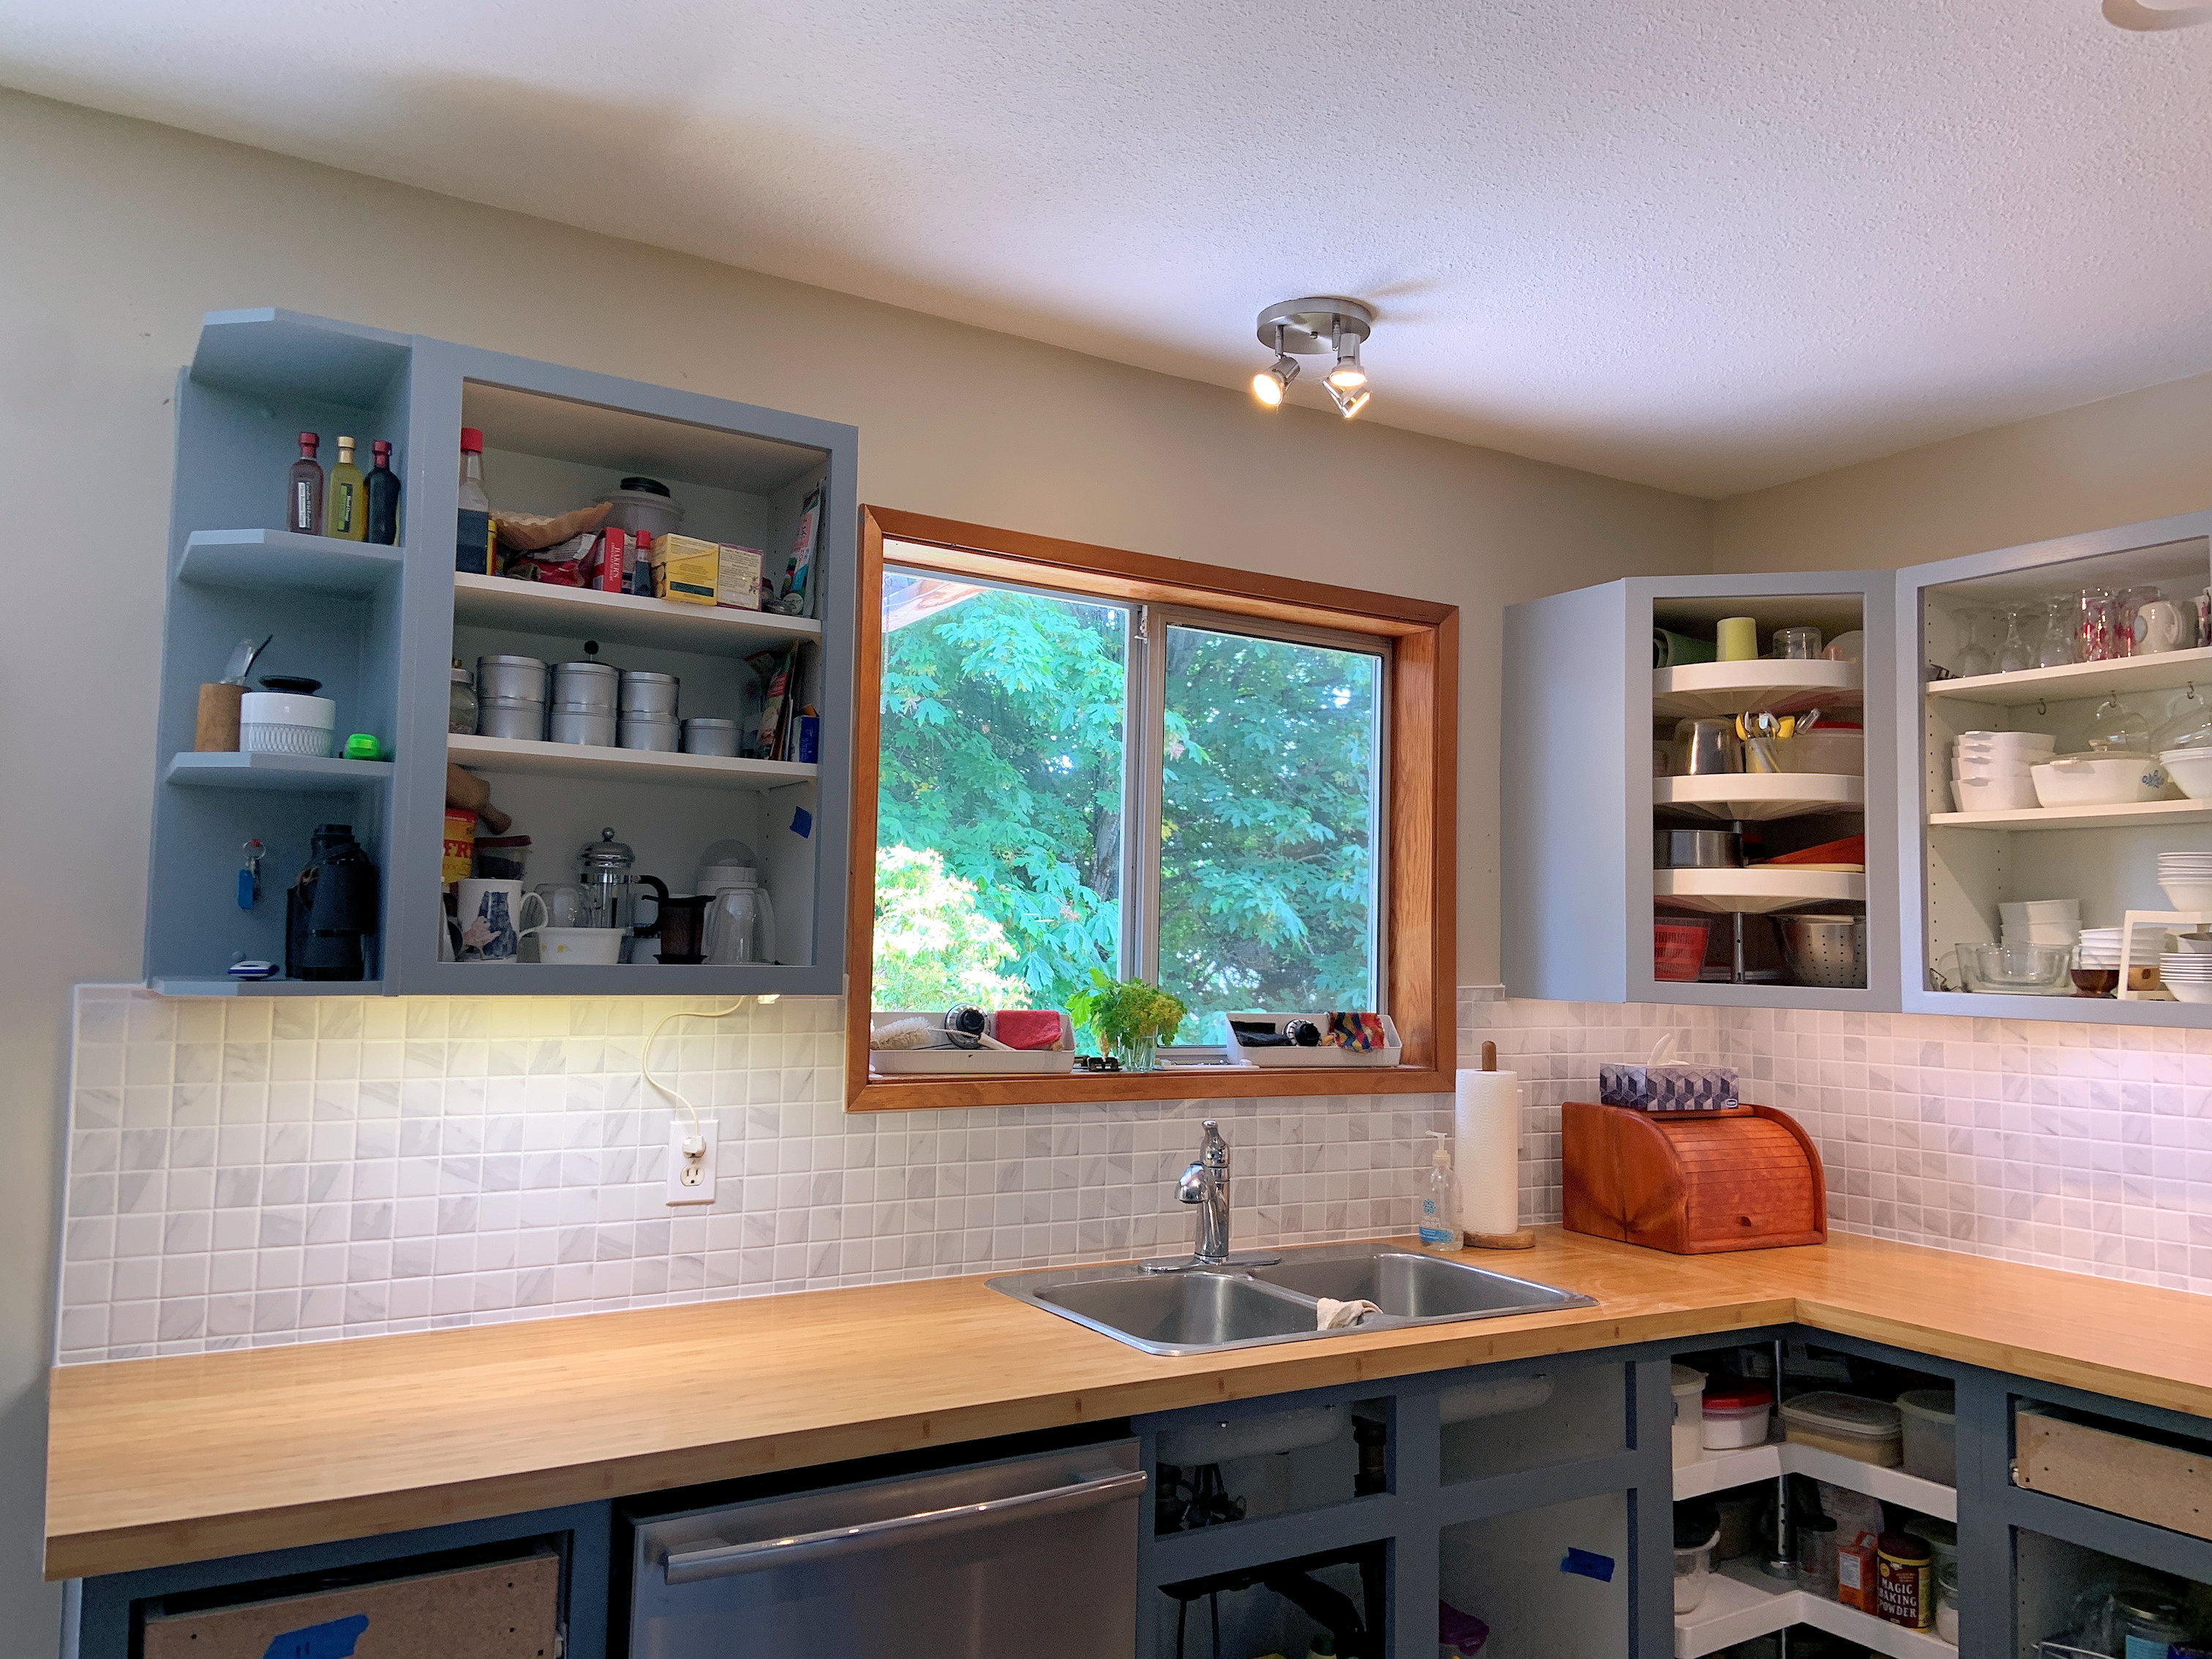
The sink side. Note that the breadbox has been sanded, stained and oiled so it's pretty again too.
(23:06:2025)
The stove side - now we can put everything back on the shelves and counter.
(23:06:2025)

Back Splash done!
Likely two weeks before the doors, and drawers come home from vacation at the spa
(25:06:2021)
| Click the Home button below to return to the main button menu. | ||
|
|
Last Updated: 25 June 2025 |
|