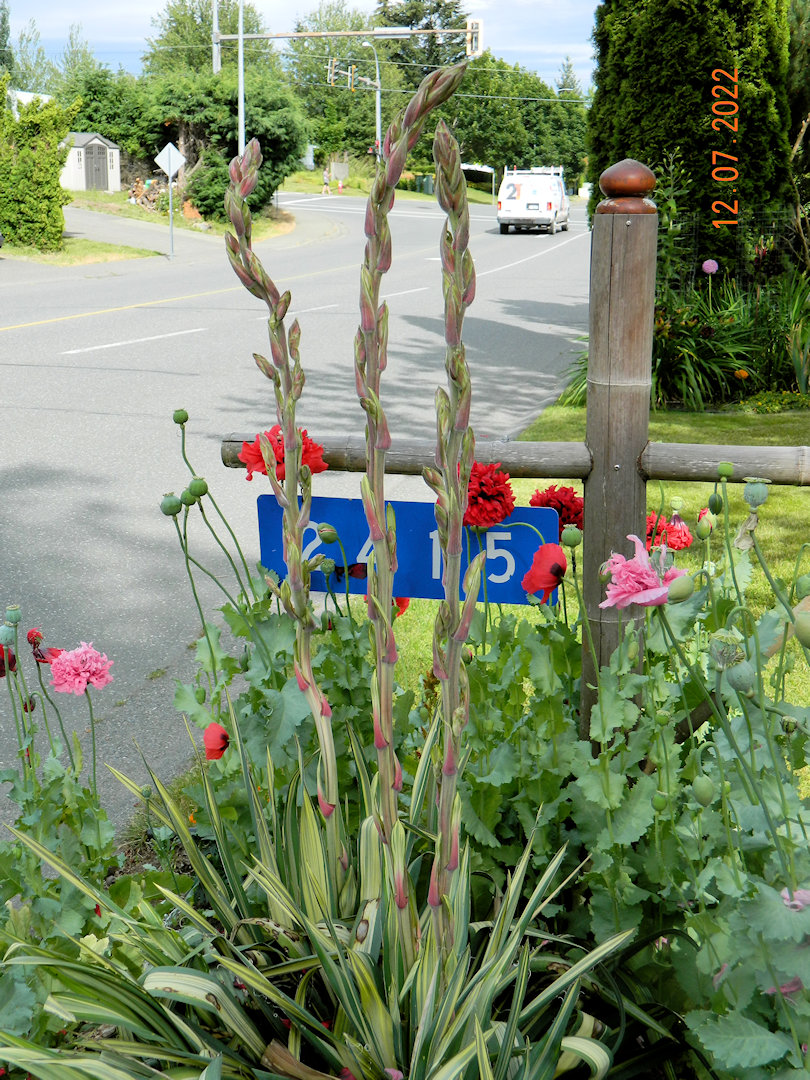
Replace our gate address sign
April 1st to Sept 16th
Click image for enlargement.
The base was set in the dirt, and had rotted off over the years.
When I started this project in April I was going to make my own post by laminating cedar fence boards together, but things like summer, garden, life etc. intervened.
Ta-Da new idea.
(12:07:2022)
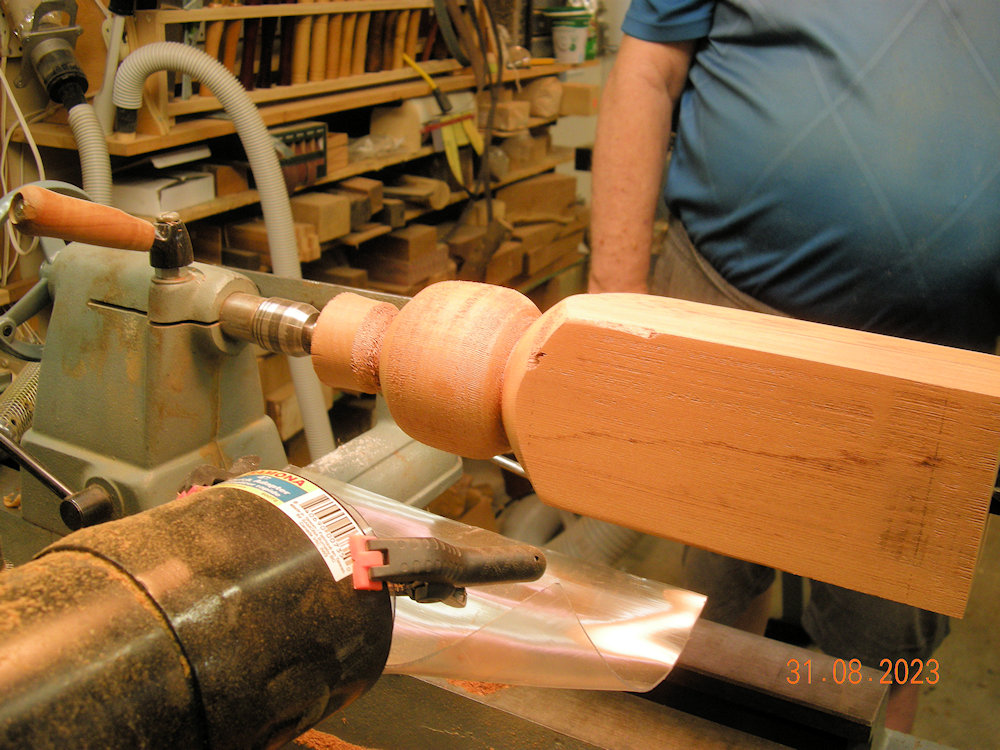
(02:09:2023)
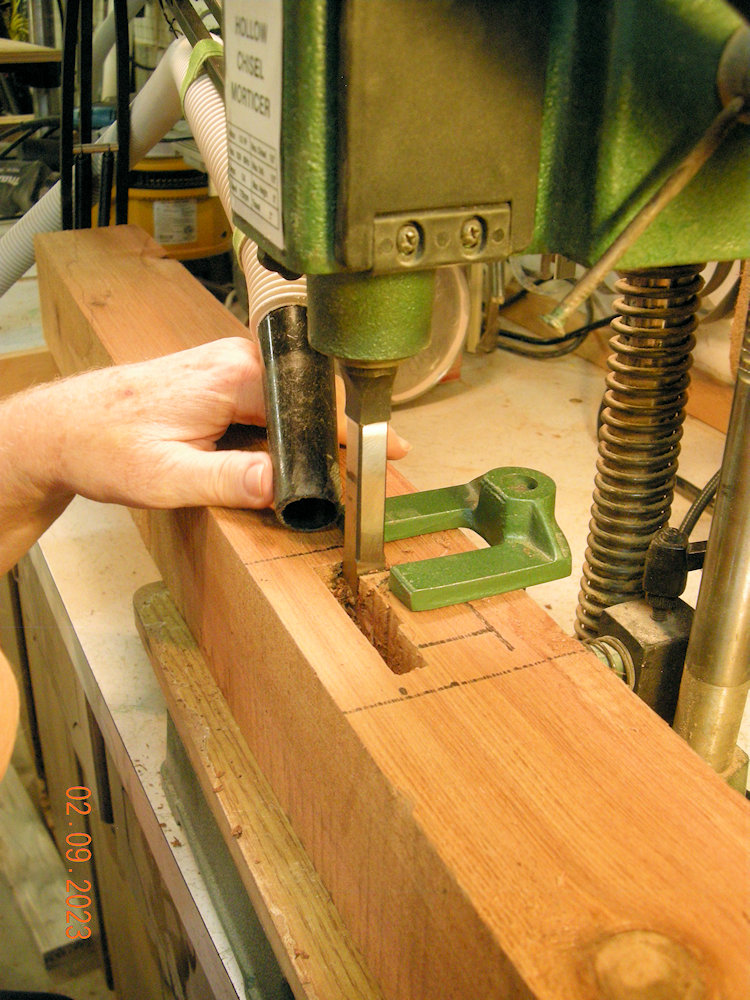
(02:09:2023)
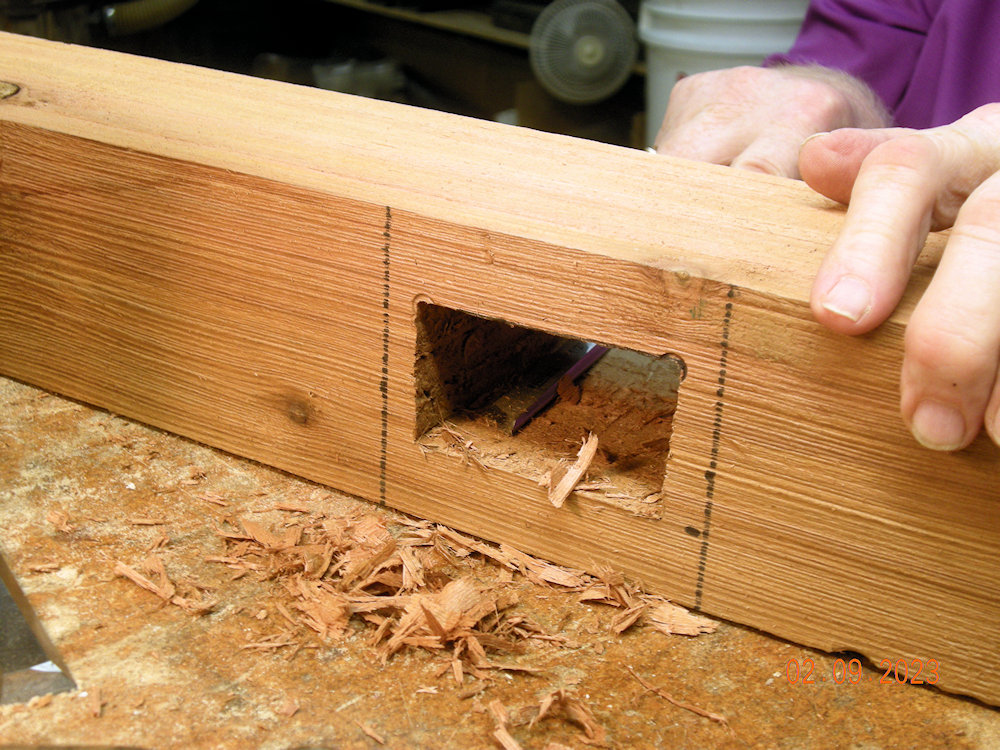
(02:09:2023)
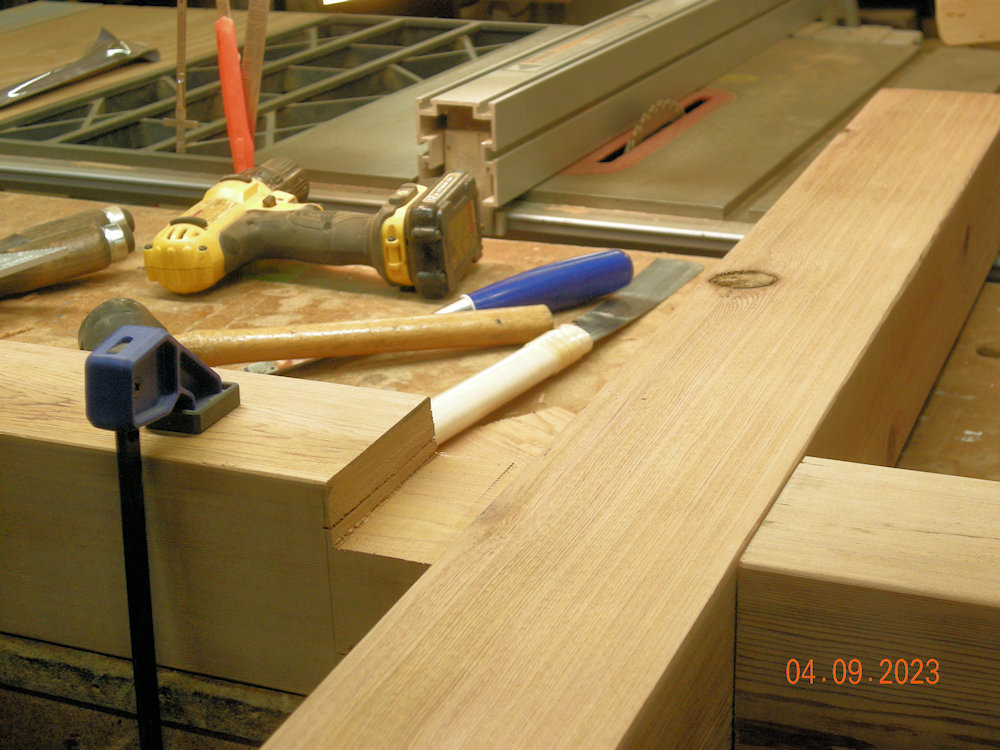
One tenon cut, and the second marked up.
(30:09:2023)
Top of the post in place.
(30:09:2023)
Setup to cut the tenon on the top of the 'post' part.
It is hard to see but there is a roller stand under the right hand end. The stand is within ¼ inch of its absolute height.
(Lucked out again. Time to quit for the day while the luck holds.)
(30:09:2023)
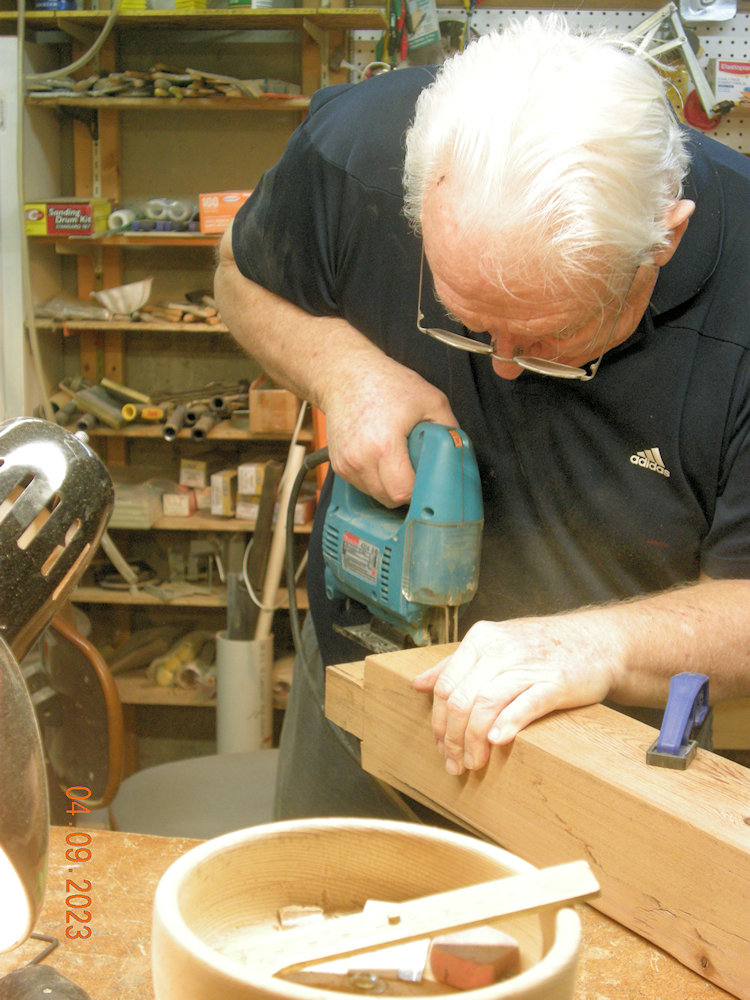
Squaring up the tenon. Just had to switch to power saw.
If I had paid attention I could have used the band saw to make these cuts. Just had to turn the saw 90o so it was set up to cross cut and it is on wheels so it can be moved.
(04:09:2023)
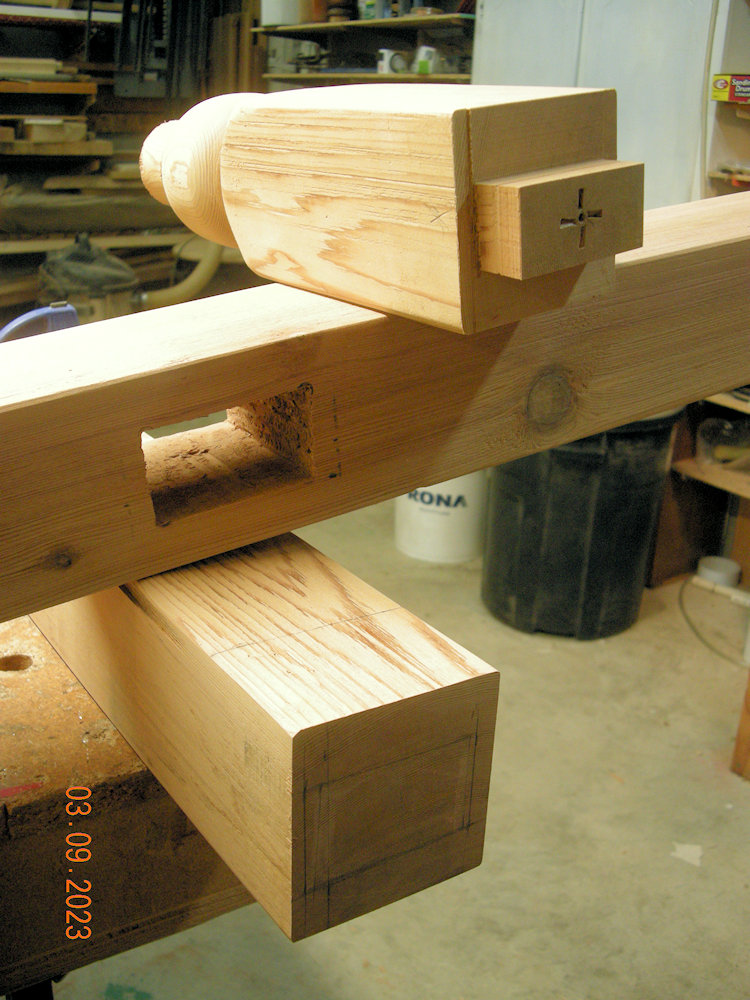
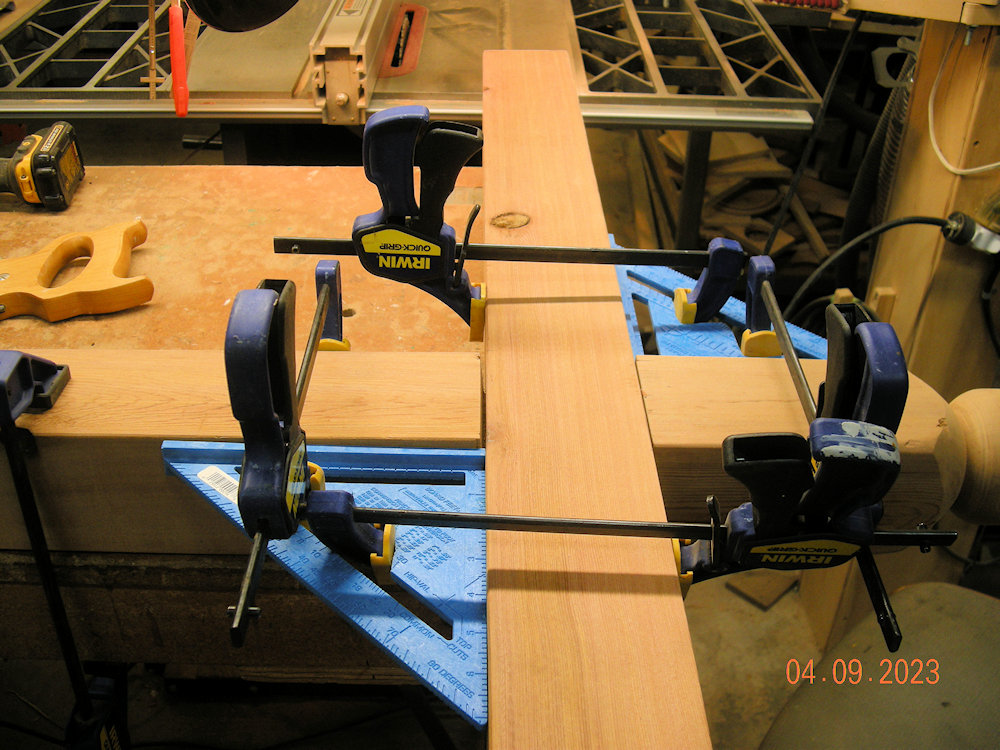
Checking the fit and alignment of the top and post.
(04:09:2023)
All parts come together, line up, and almost look purtty!
Where the post hits the arm now can be squared off so that the seam is neater.
(04:09:2023)
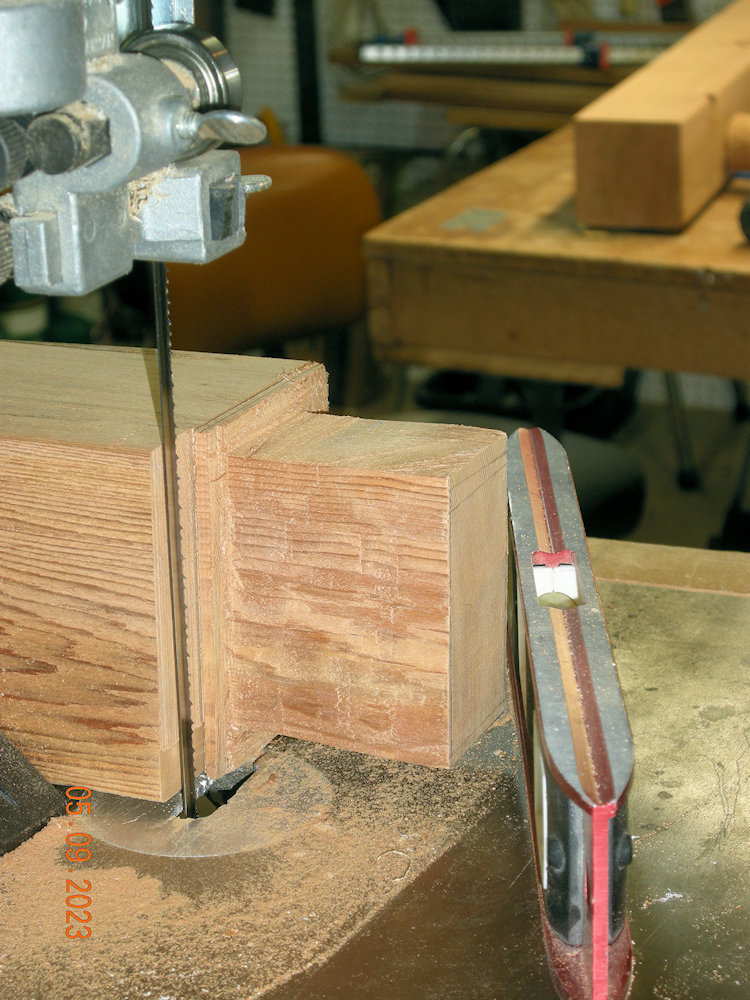
Using the band saw to clean up the tenon.
Found out the saw band is about 1/32nd of an inch out of being right angles to the table.
(05:09:2023)
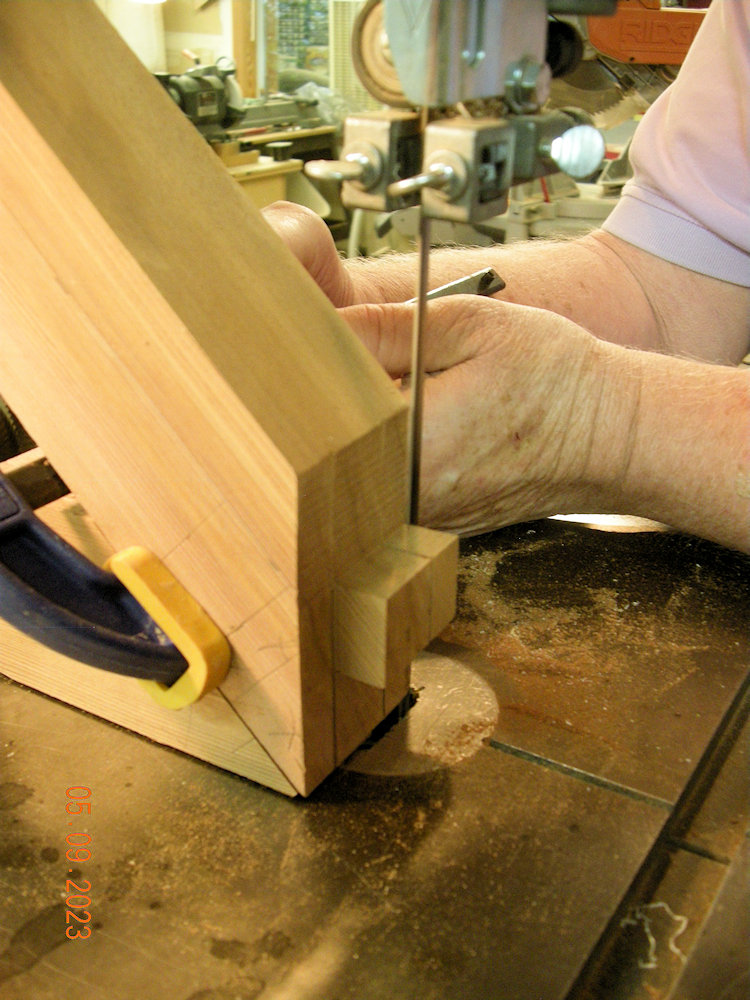
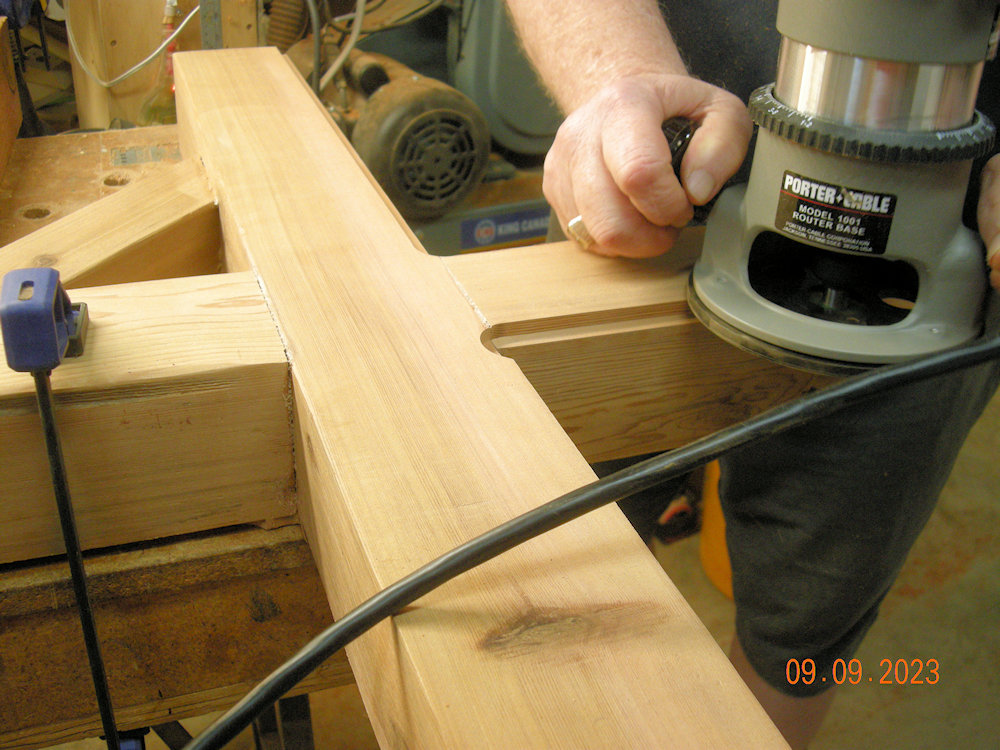
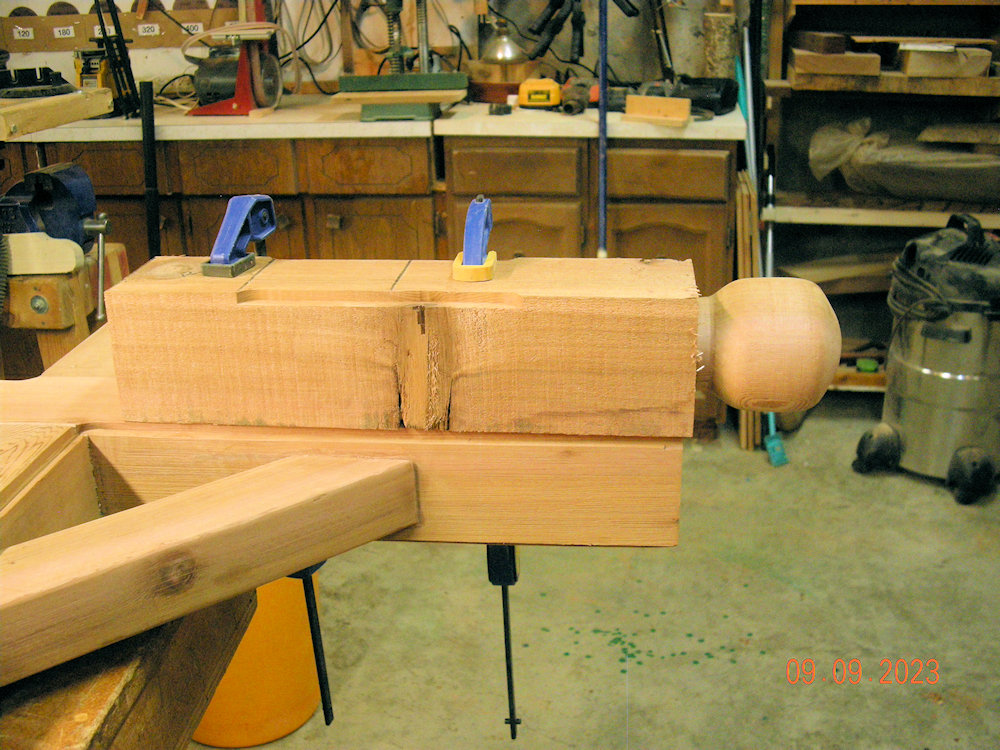
Putting a tenon on the cross brace.
(05:09:2023)
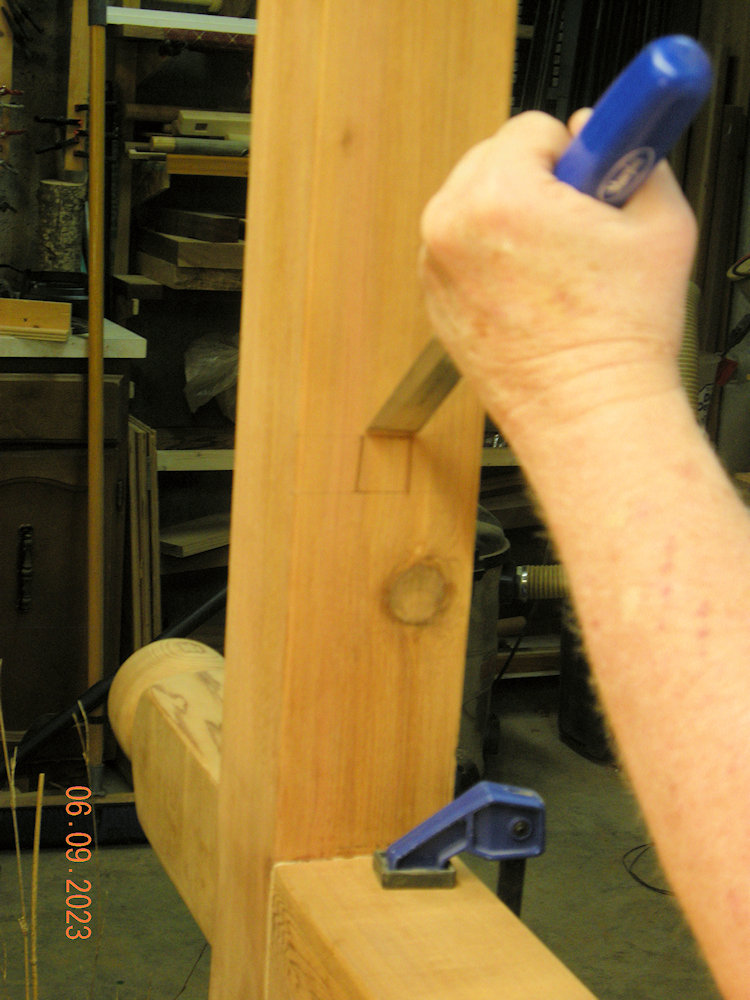
Starting the mortise on the arm.
(06:09:2023)
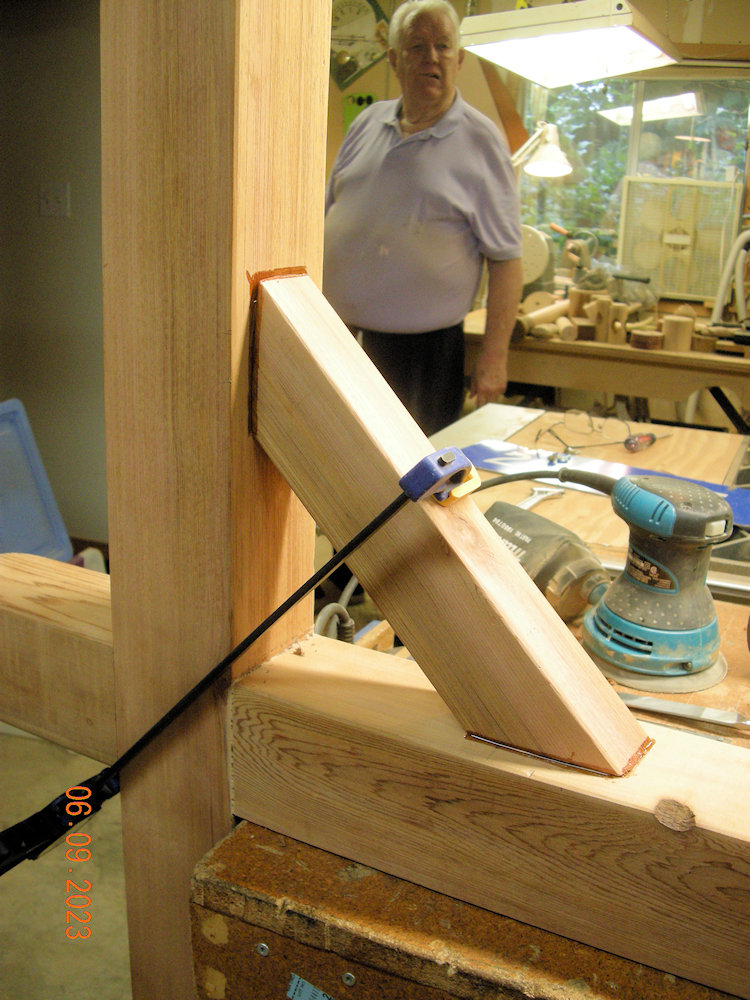
Support arm in place and glue dry time.
It would have made sense to put the brace on before the arm was glued in place but what the hay!
(06:09:2023)
(07:09:2023)
(09:09:2023)
But I don't own a hand held driver anymore that a bit that size will mount in. My old 1/2 inch driver (Ni-Cad battery) gave up the ghost last fall and at my age I am not inclined to go the cost of a new one.
(09:09:2023)
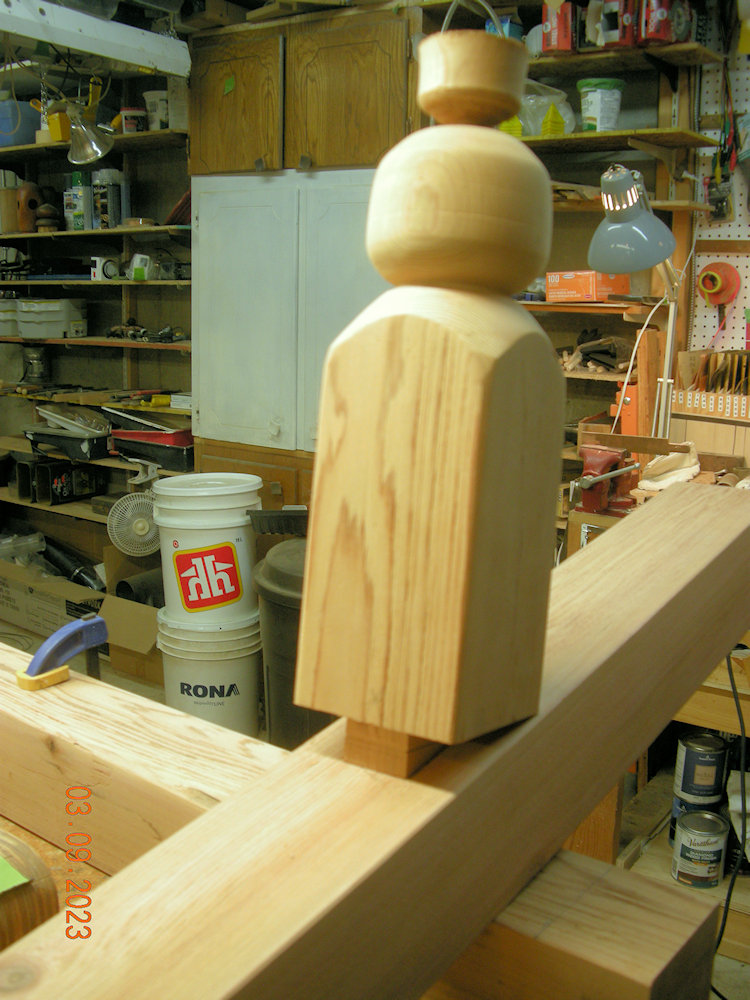
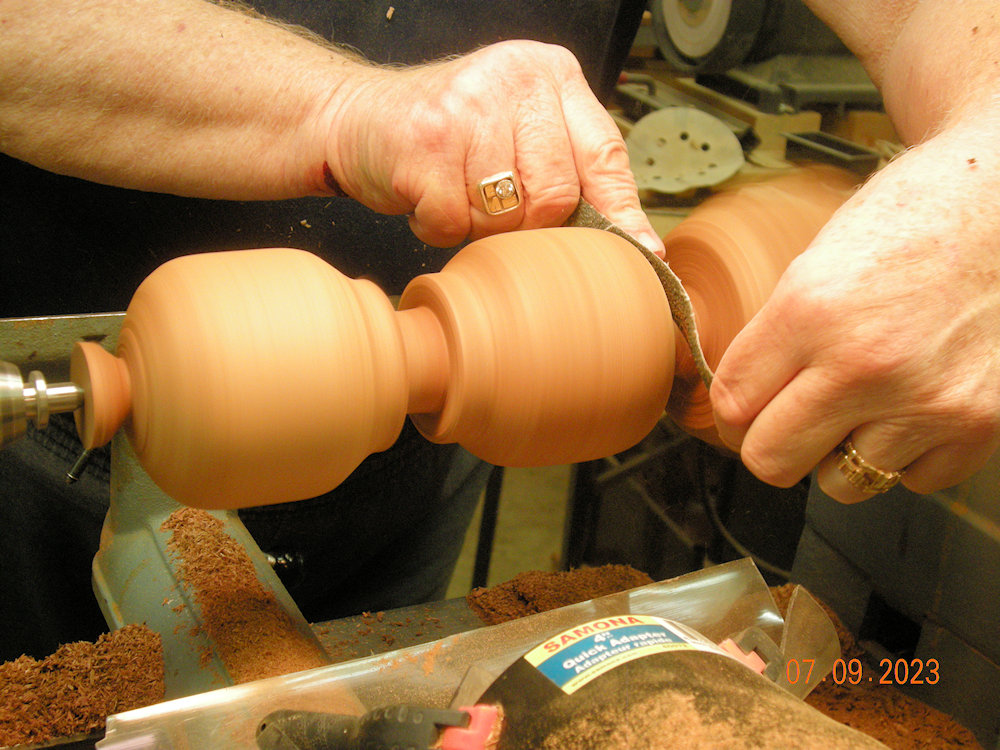
All set up!
Wanted to see how the balls on the ends of the arm look, and is the length ratio right??
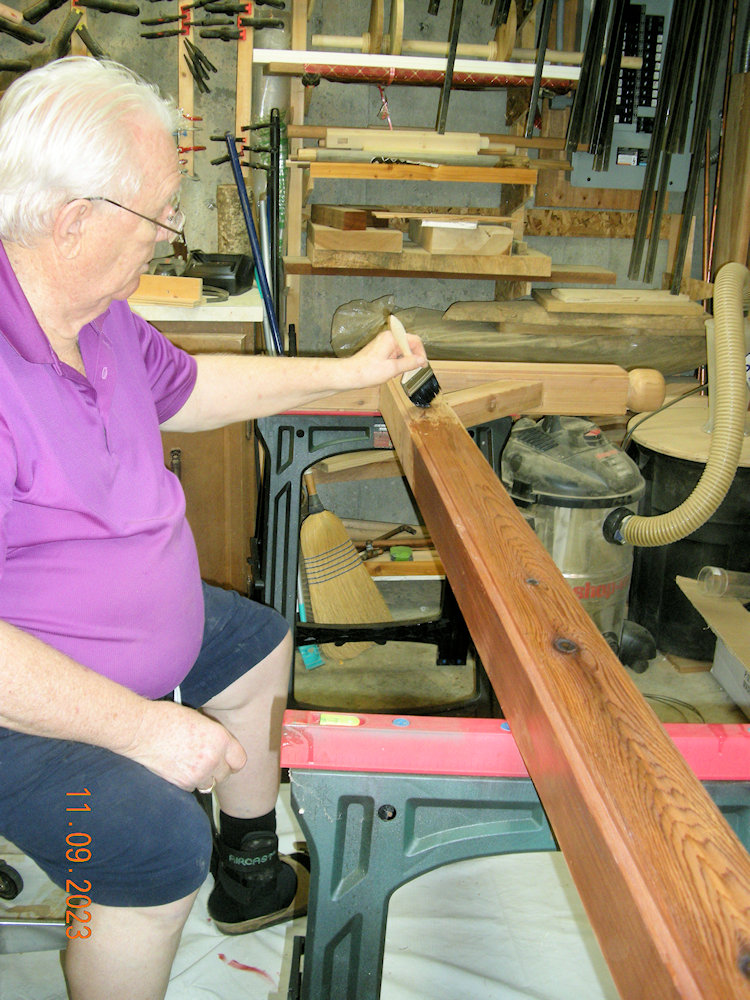
End caps on the arms need glue, then it will be time for a few coats of varnish.
(10:09:2023)

I'll have to add "of the right size" to that.
(09:09:2023)
(09:09:2023)
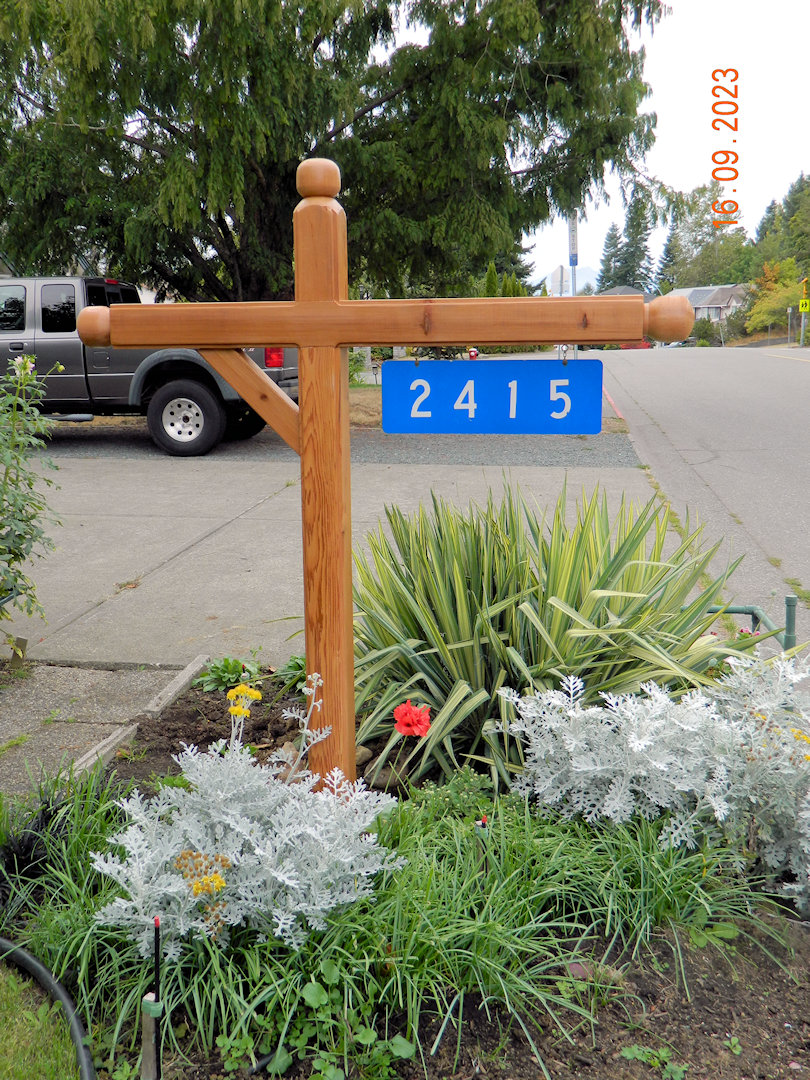
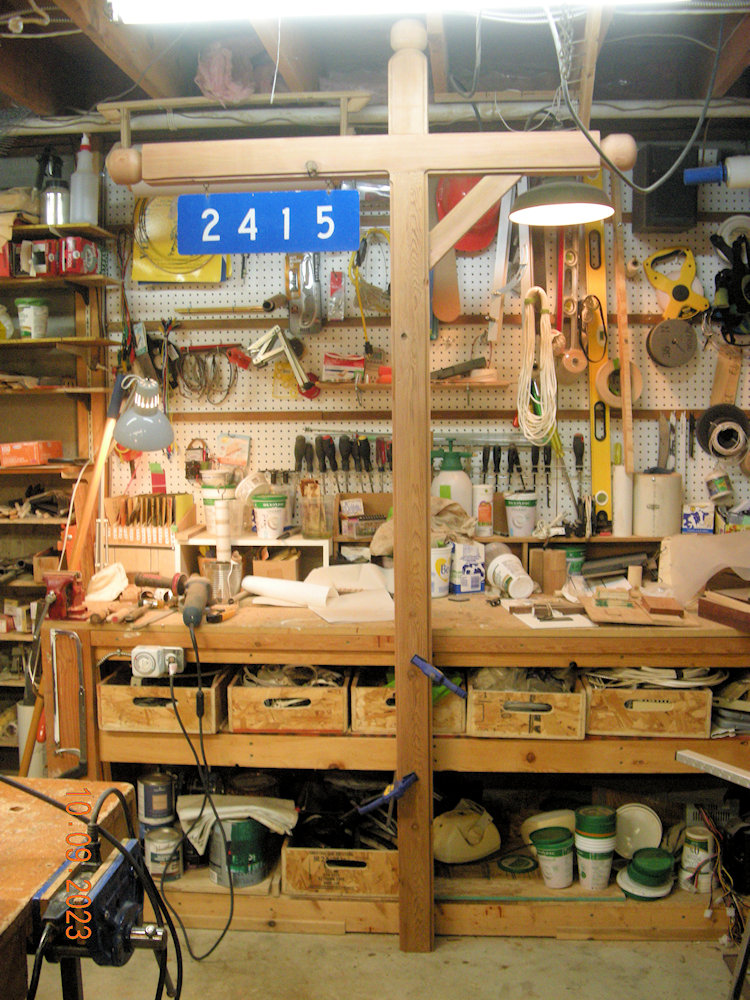
Done and Installed!
There are 24" buried in the hard pack clay that lies about 6 inches down along the front of our yard.
Now in about a week of the first post being installed some kid, learning to drive, took it and the bus stop sign next door! In that case the sign just pushed over no damage to it or the car.
(16:09:2023)
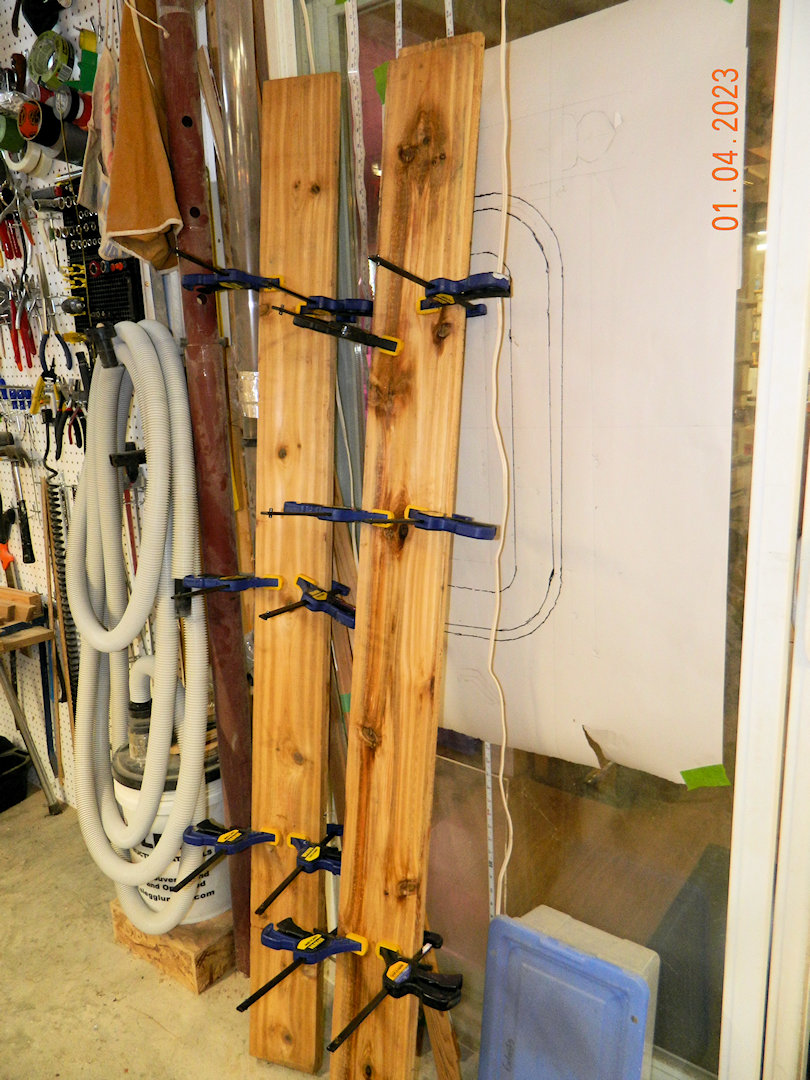
Below are the pictures from the first attempt.
Here are 4 - 1x6 inch cedar fence boards from Home Hardware lumber yard (important point here) that we picked up in the rain. Very wet and likely more green than if it came from the other big lumber yard in town.
For what I intend to do, they will have to be dry and straight.
It will likely take a week or more in the shop to dry to the point they can be jointed, planed, cut, and glued.
(01:04:2023)
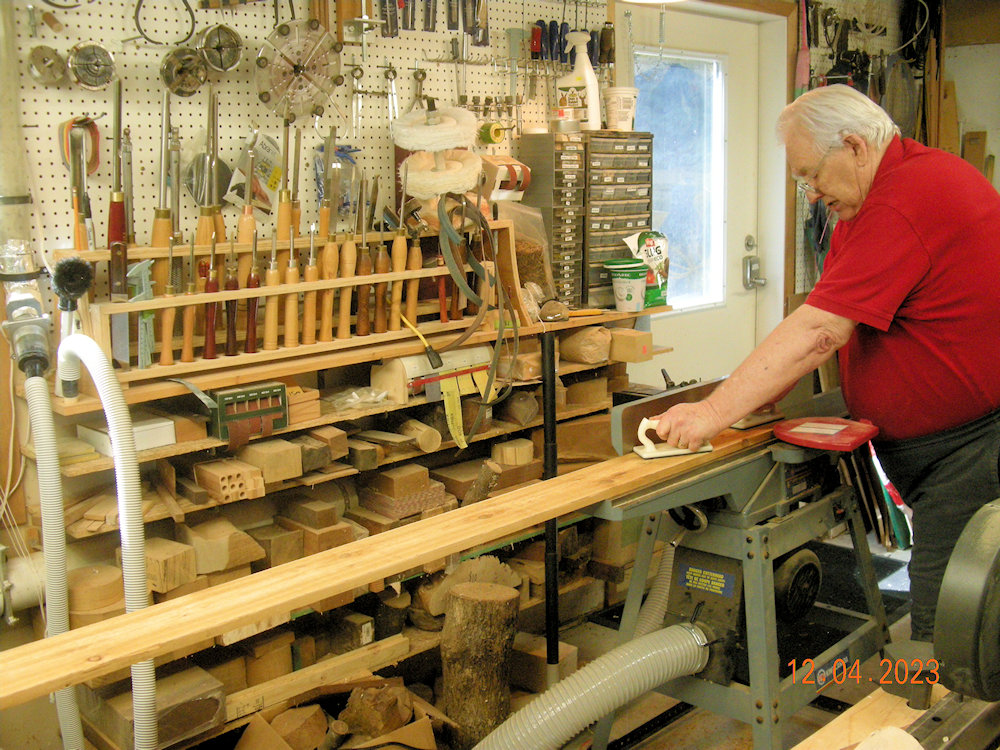
Here we are 11 days later.
It is now dry, and time to make the rough board into nice smooth wood.
Start by planing one side flat
(12:04:2023)
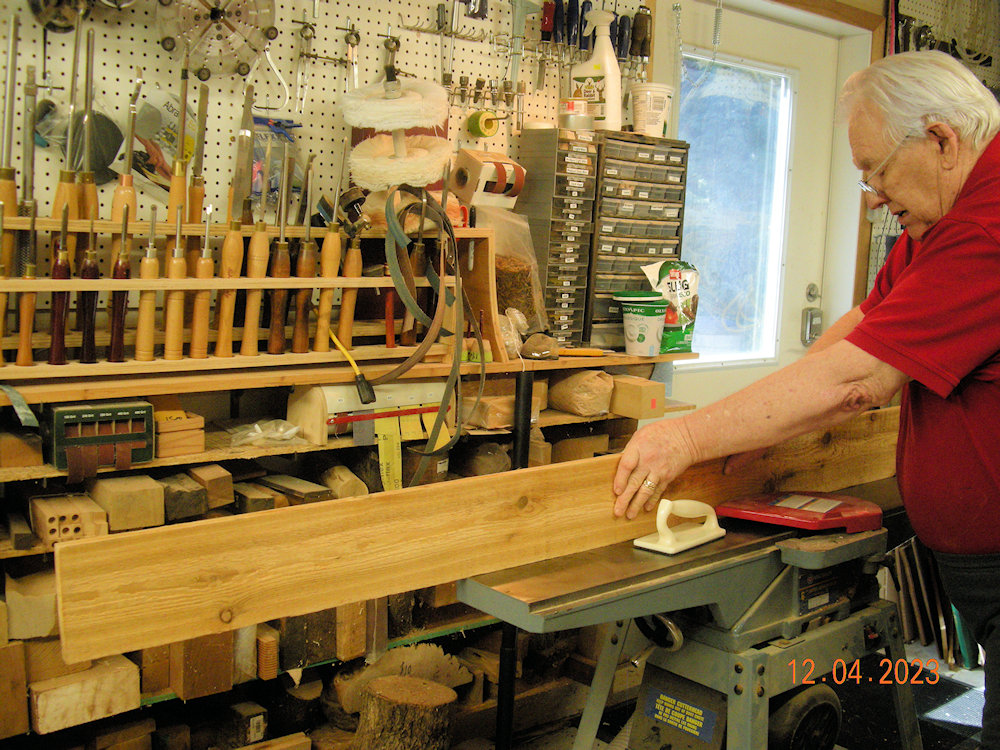
And joint the edges.
Considering how wet this was when it came home, the flats were almost flat and only one pass each. And only one board had to have the edges run twice to straighten them out.
(12:04:2023)
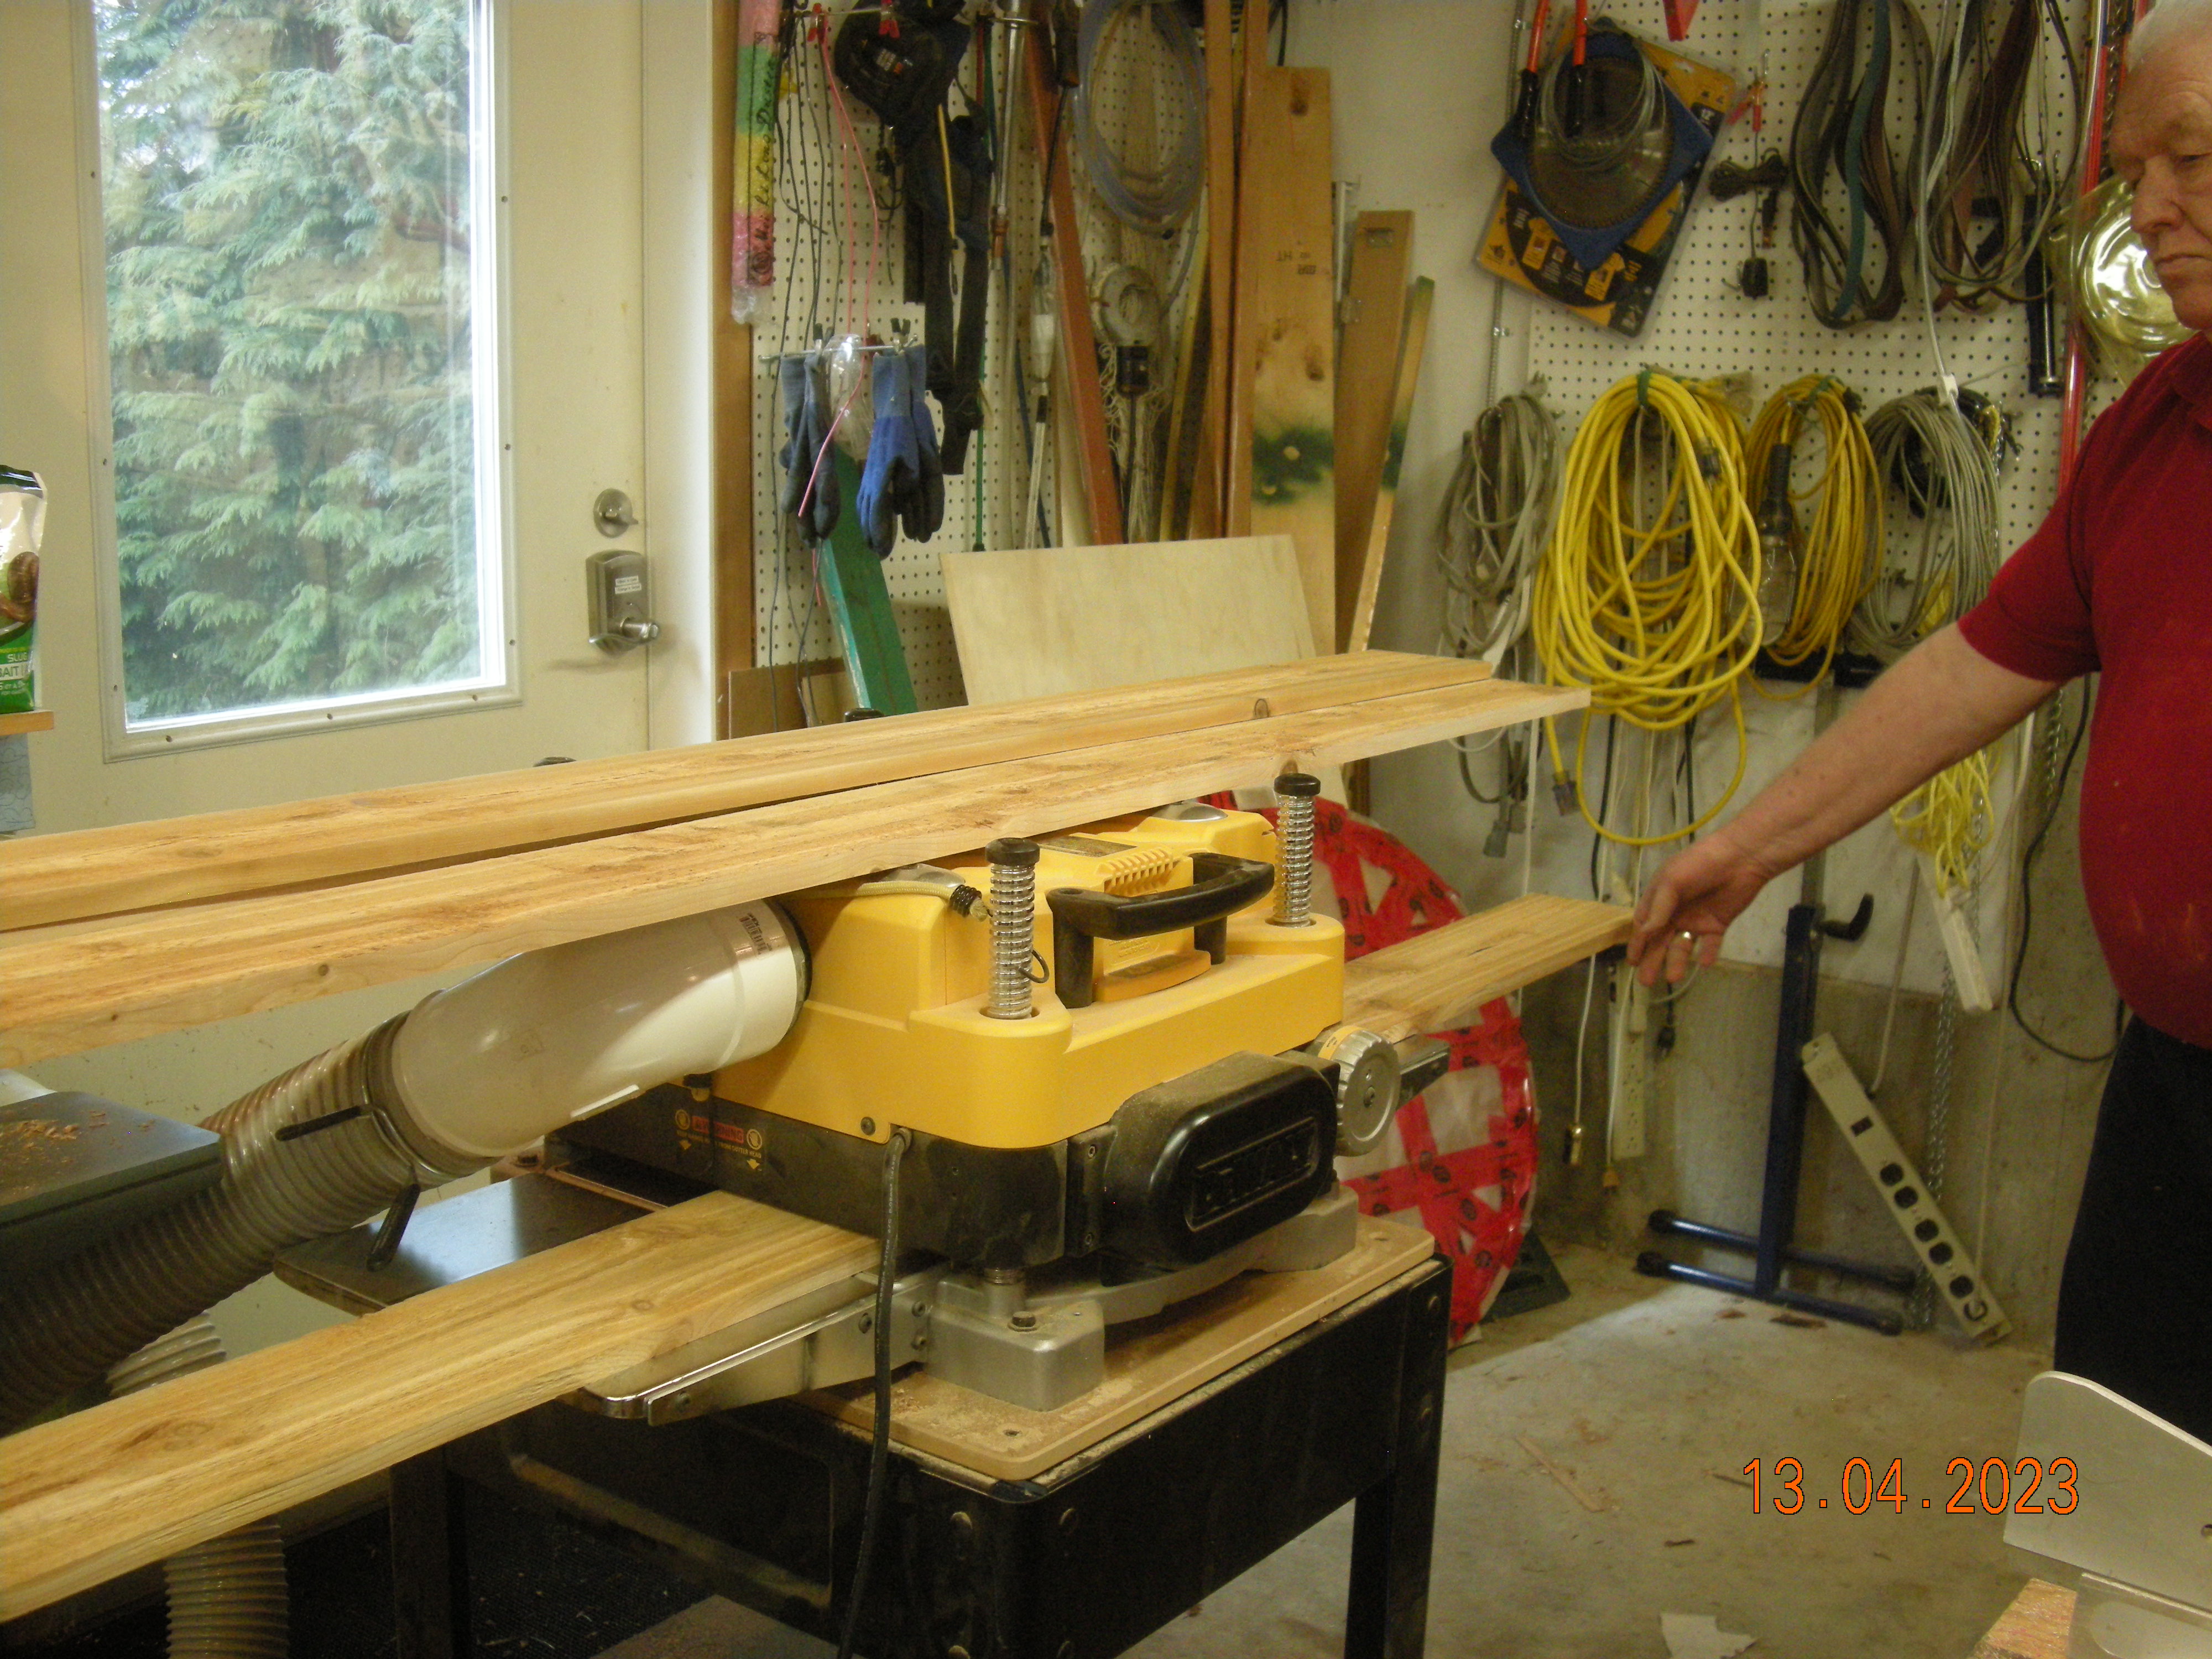
Having flattened one side with the jointer, this will smooth the other side and make sure the boards are the same thickness.
(13:04:2023)
Marked out for cutting!
(13:04:2023)
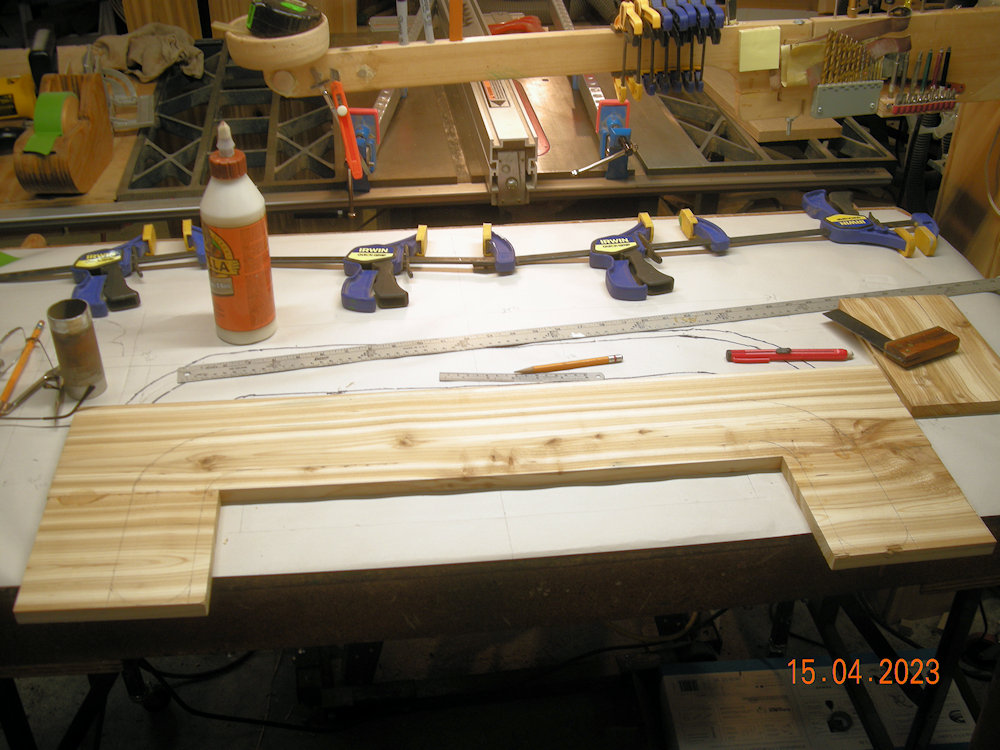
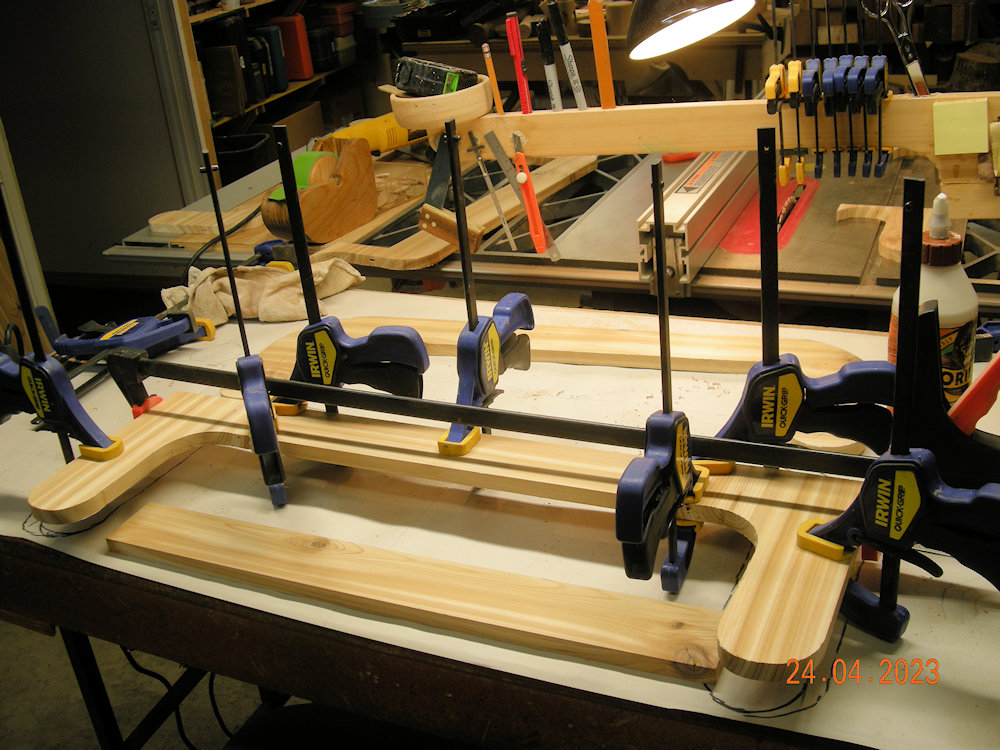
Glue-up for one of the five sections that will make up the hanger for the sign.
(Three down and two to go.)
(24:04:2023)
| Click the Home button below to return to the main button menu. |

|